1E Client installers
The 1E Client Installers page enables you to upgrade the 1E Client across your network, and allows you to select the 1E Client installer you want to use for the installation. This process will only upgrade the client on Windows 8.1 devices and above. And will keep the settings from the previous deployment, it will not allow you to enable or change any features.
If you are deploying the 1E Client for the first time, or you need to enable new features or remove existing, then you will need to deploy the 1E Client using the Client Deployment Assistant, please refer to Deploying 1E Client.
This feature does not support deployment of patches (accumulated hotfix). Please contact your 1E Account Team if you need help with this.
Preparation
First you will need to download the 1E Client Installer files from the TeamViewer DEX Support Portal and save these to a location accessible to a user who can access 1E using the Full Administrator role.
-
On the right-hand side of the screen, click Add.
-
From the displayed screen, select Choose File and browse to the location where you saved the MSI.
-
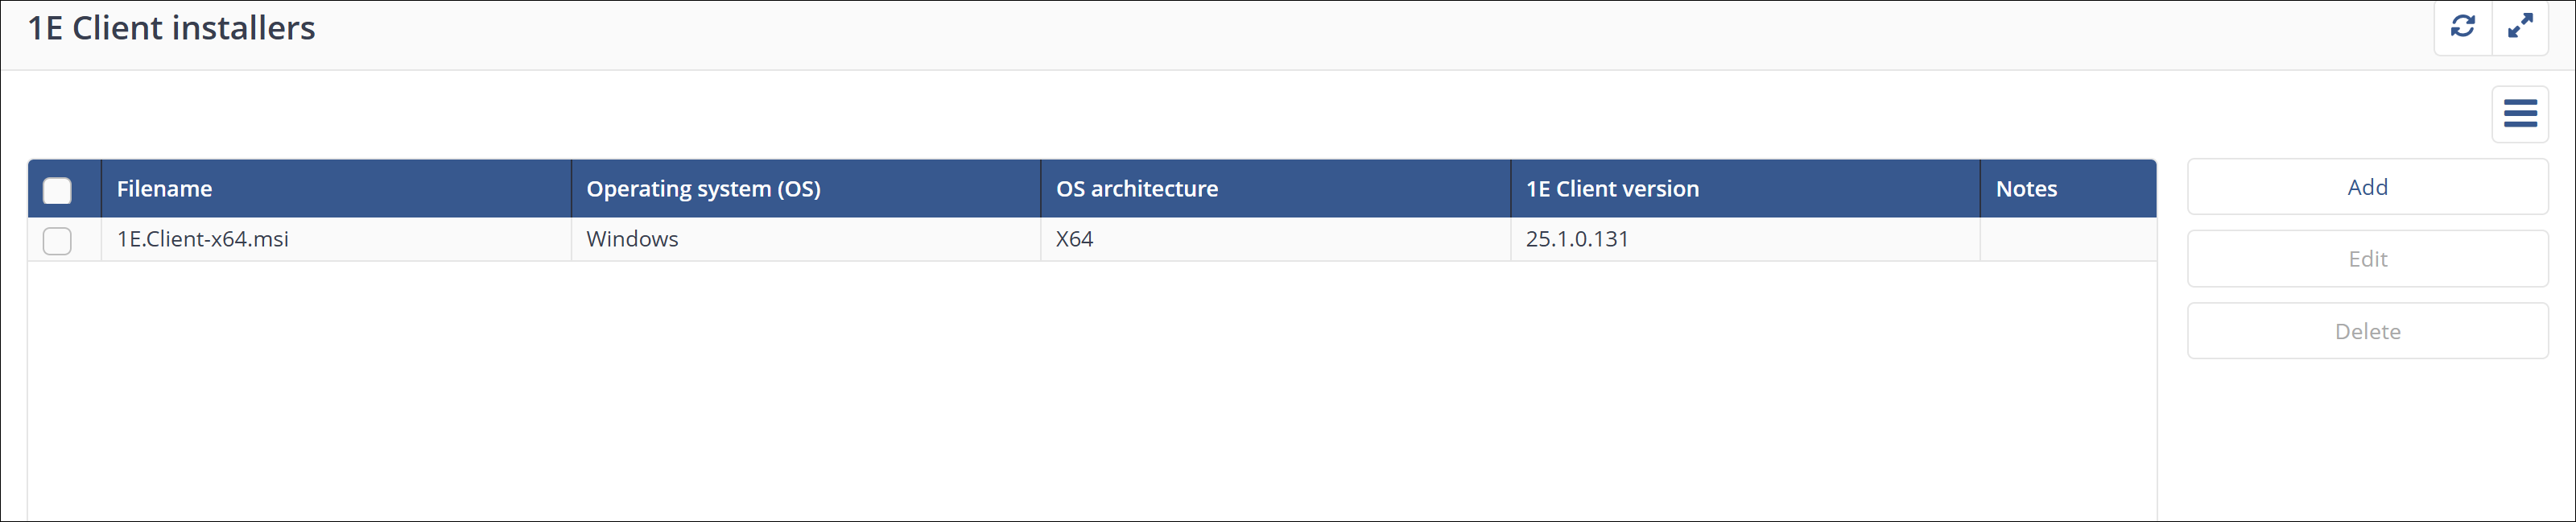
Select the 1E.Client-x64.msi and optionally add any notes you want, click Add.
-
The Installer is then listed on the 1E Client installers page, repeat the process if you have any 32 bit clients to deploy to.
Upgrading the clients
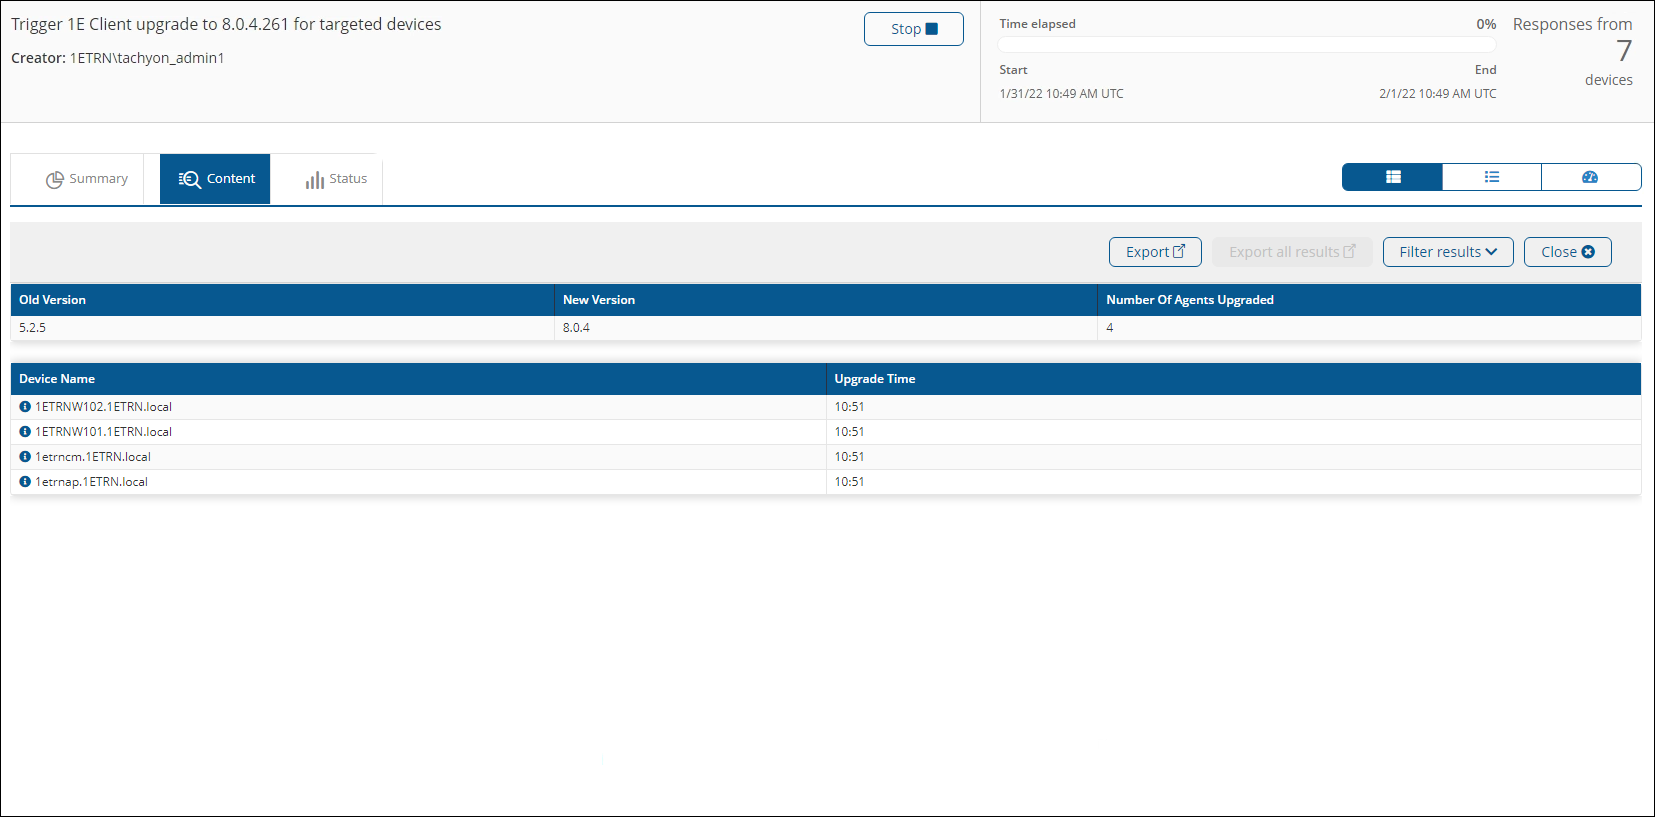
The upgrade runs using an Instruction called Trigger 1E Client upgrade to <ClientVersion> for targeted devices.
-
Select the Endpoint Troubleshooting app, the user carrying out this task will need the All Instructions Actioner role as a minimum, although Full Administrator will also be able to carry out these tasks.
-
In I want to know, search for and select Trigger 1E Client upgrade to <ClientVersion> for targeted devices action, in the drop list for the Client version choose a client version, for example 8.1.2.62 as that is the Client version for this release of 1E.
-
Once selected, confirm the target and Duration are correct. Set this to be a longer gather time to ensure clients have enough time to come online, receive the instruction and run the action.
-
When you have confirmed the coverage and duration, click on Perform this action, and follow the 2FA process.
In a production environment, you would first target a subset of devices on your estate, to confirm the upgrade is successful, and the client correctly communicates with 1E. You would do this by selecting the Edit option next to Parameters, and select your target, this may be a testing management group, or a Ring 1 Device Tag.
-
The upgrade then runs and responses are returned, you will see that the new version is installed.
-
Confirm the upgrade has been carried out and you can see the old and the new version listed in the top table. This Action only upgrades devices that are Windows 8.1 or above. So, in this environment, 3 devices did not upgrade.