Intune connector
The Intune connector connects to an Intune application and pulls inventory and usage data. For information on the type of data collected, refer to the Intune column in Management Groups rules.
The configuration procedure described below assumes that you have an Intune subscription and can populate the connector with details from an Enterprise Application in your Microsoft Entra ID Console.
Prerequisites
Before adding this connector, you will need the following information from an Enterprise Application created in your AAD console:
-
An Azure cloud instance URL (optional). If this is not supplied, then AzurePublic is used as a default.
-
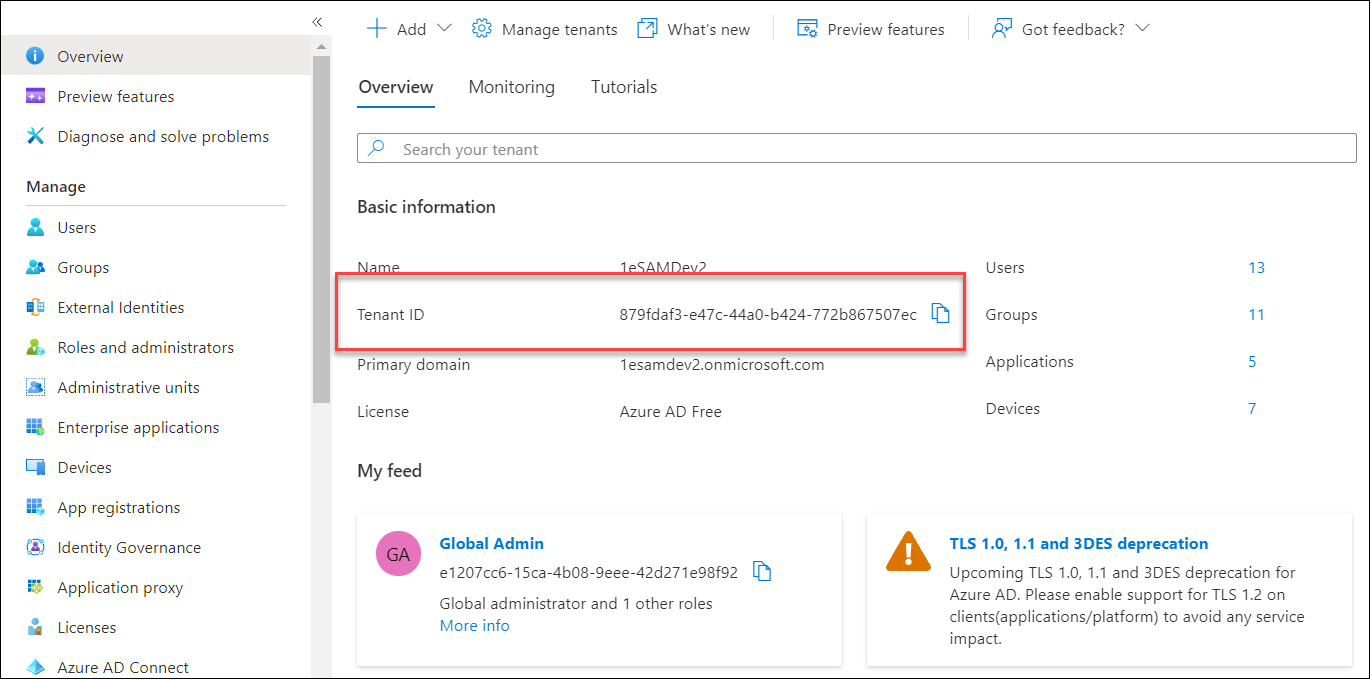
An Azure Tenant ID, which is available in the Overview node of your AAD console.
-
The registered application clientID (a string representing a GUID).
-
A client secret value that has been created for your chosen Enterprise Application.
Preparing an AAD application
-
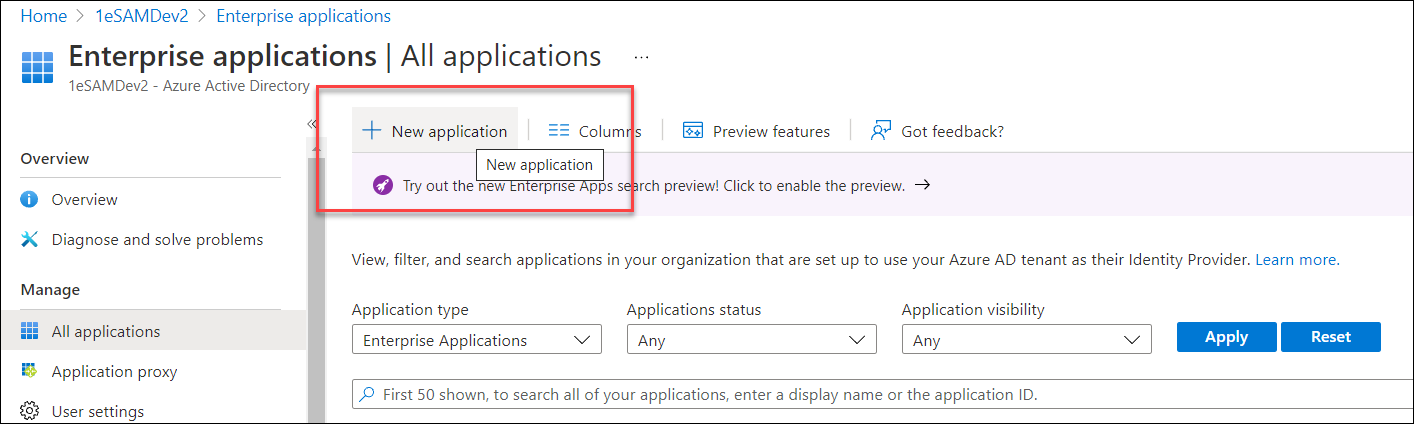
In your Microsoft Entra ID console, navigate to Enterprise applications and click New application.
-
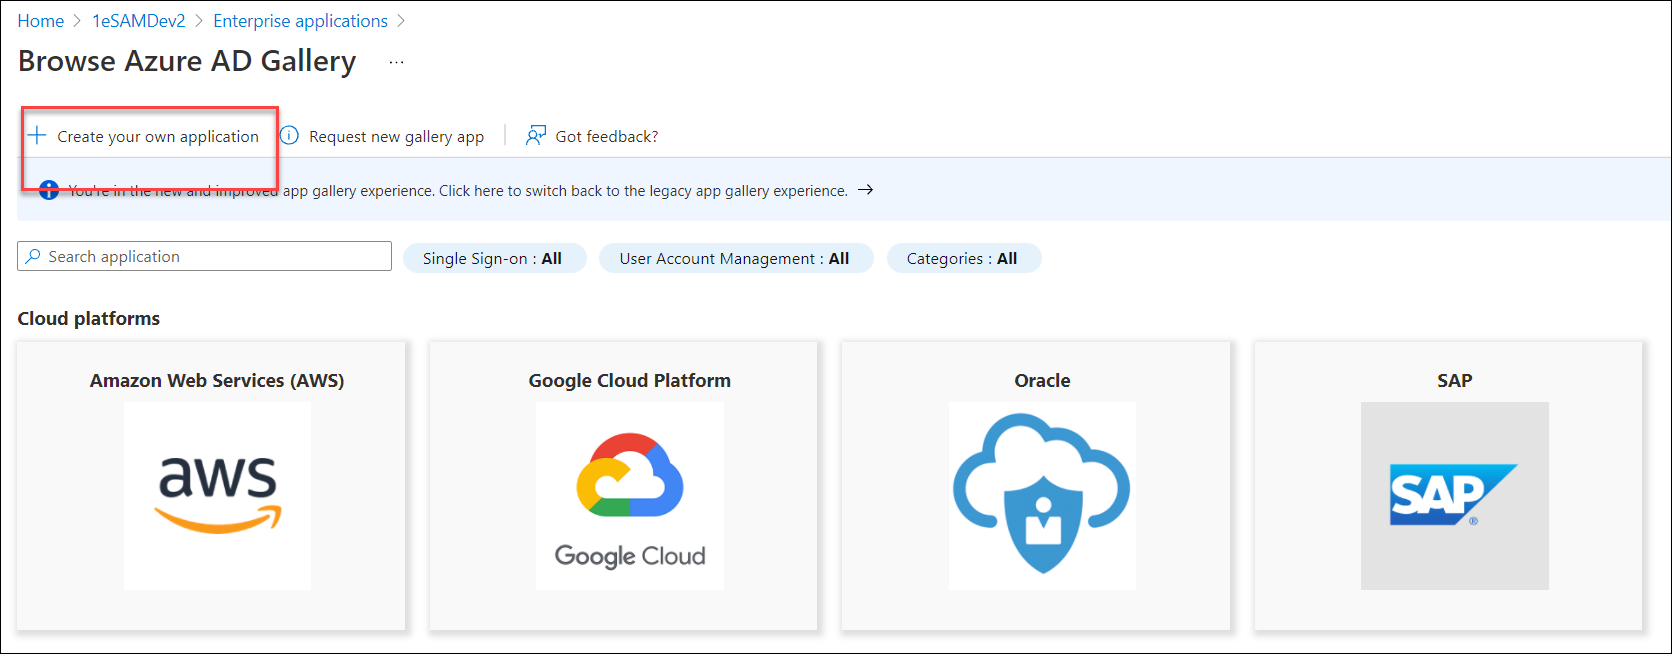
Create a non-gallery application.
In the version of AAD we're using in this example, this is done by clicking the Create your own application button.
-
Provide a name for the application, for example, 1E Intune Connector, and then click Add in the bottom left of the screen.
-
In the Overview tab of the new application, copy the Application ID and Object ID values as these will be required for the connector.
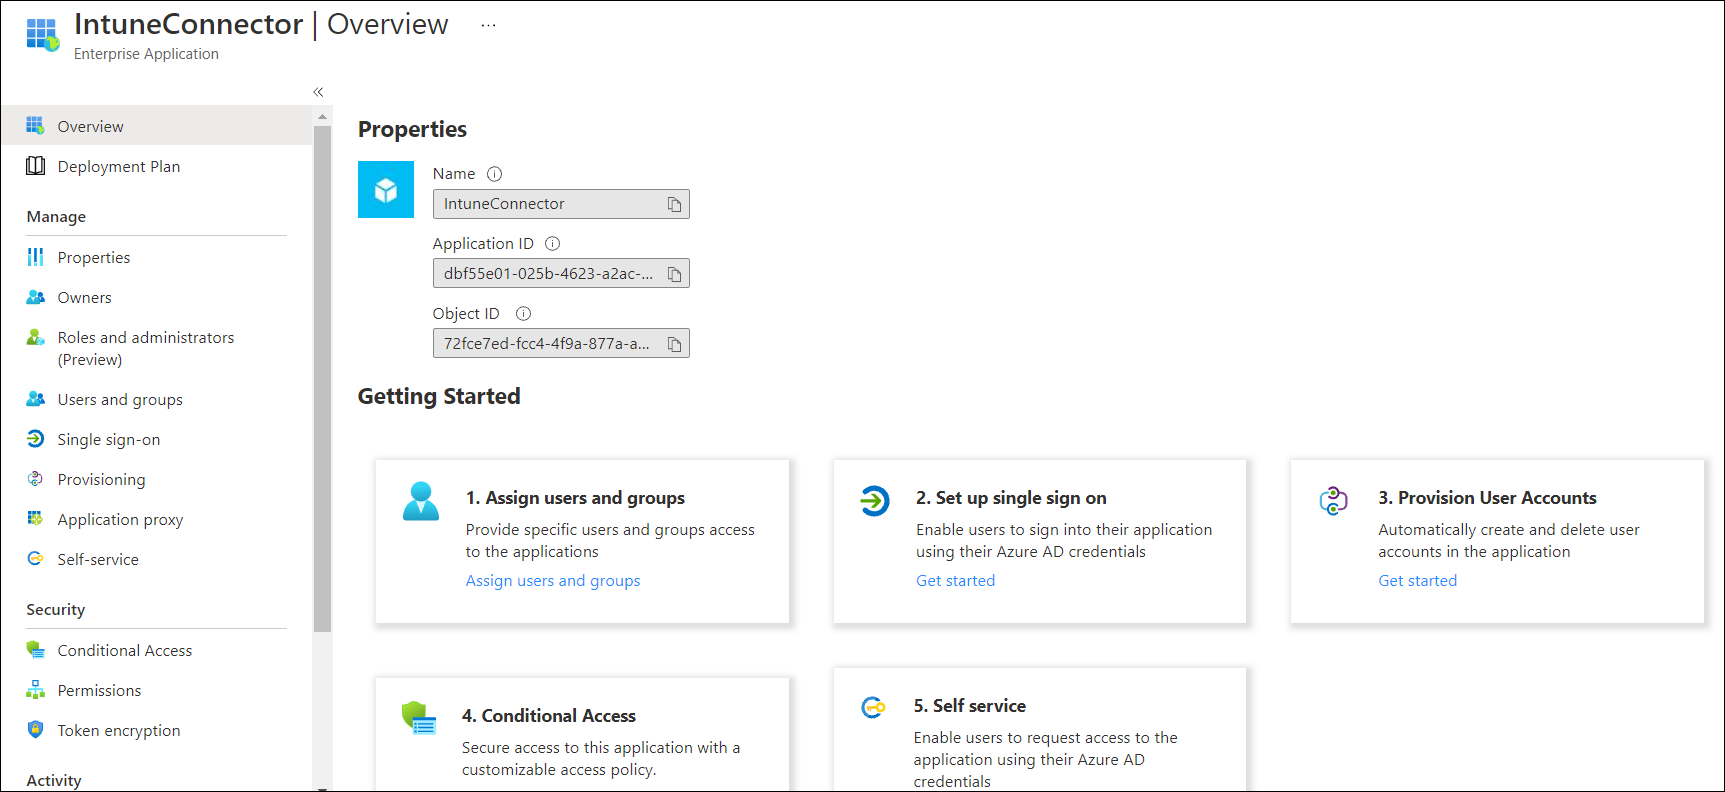
In 1E, the Application ID is called Tenant Id, and the Object ID is called Client Id.
Adding app permissions
-
Click the App registrations node of AAD, and click the name of the new application under the All Applications tab.
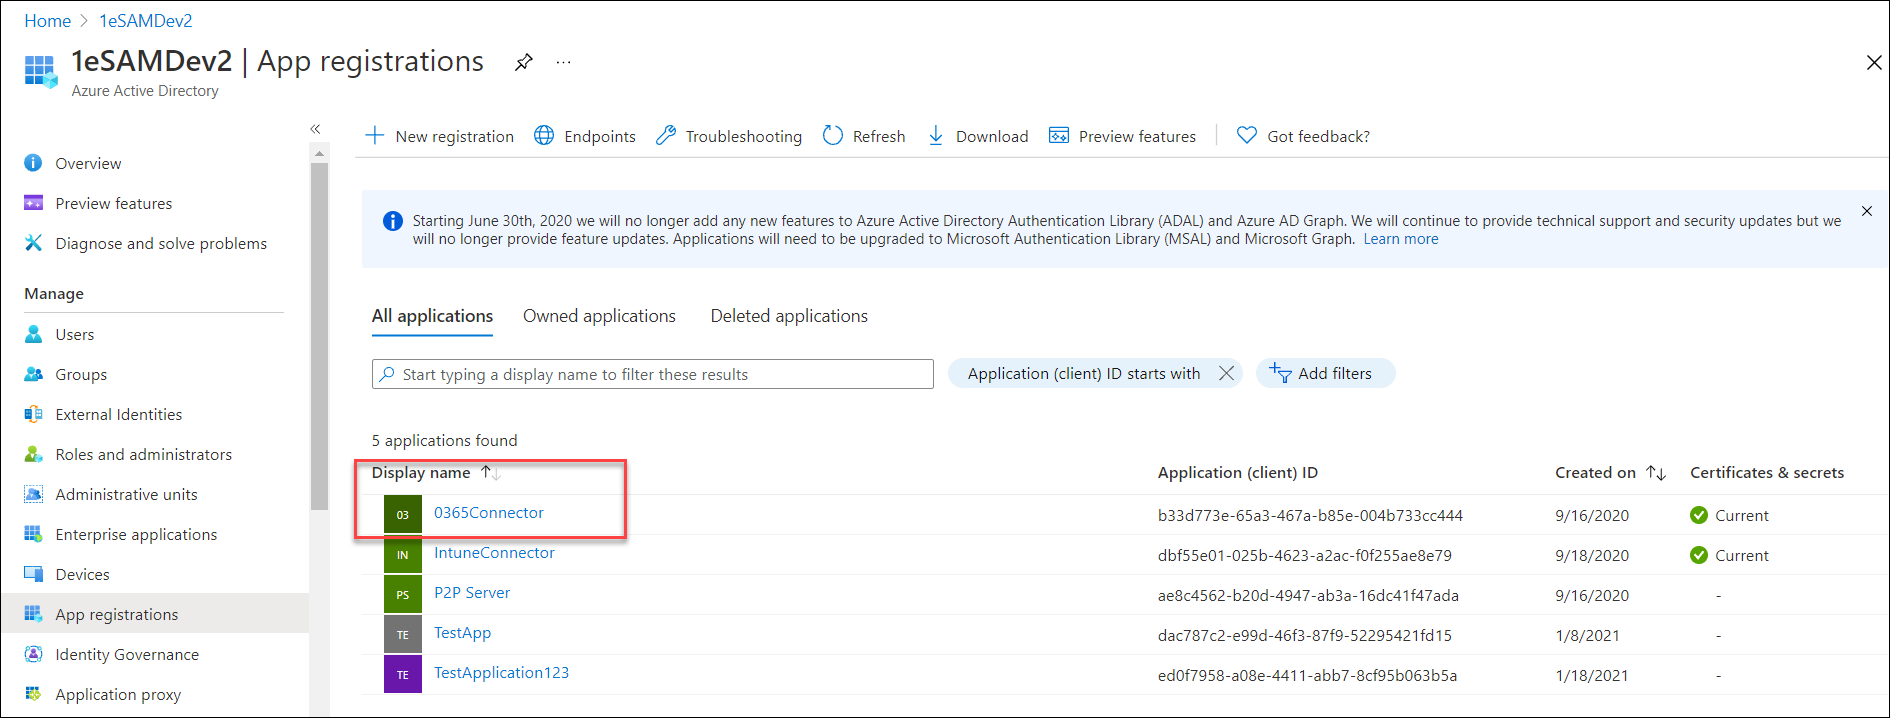
-
In the Manage > API permissions node, click Add a permission.
-
Click the Microsoft Graph tile, then click Application permissions.
-
Scroll through the list of API permissions, and select them as appropriate, then click Add permissions.
-
Click Grant admin consent for <organization>, where <organization> is the organization you set when you created your Intune instance. This means that as an administrator for your organization, you're consenting that the users of the application can use these permissions. Click Yes to confirm.
The configured permissions should look like this:

Adding a client secret
-
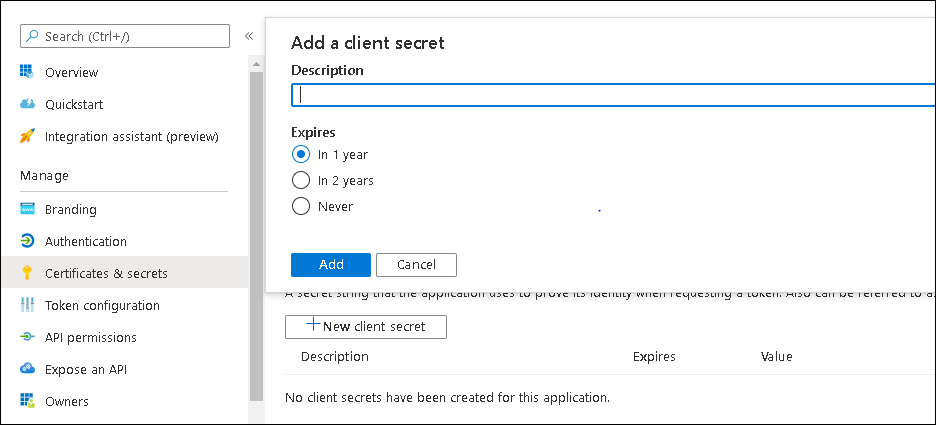
Click the Certificates & secrets node and then click New client secret.
-
In the Add a client secret form that opens, add a description, select an expiry, and then click Add.
-
Copy the new client secret value and save it, as you won't be able to retrieve it after you perform another operation or leave this page.
If you navigate away from the Certificates & secrets page and have not copied the secret value, you will have to delete the client secret and recreate it as you will be unable to copy it again.
Adding the connector
-
Navigate to Settings > Configuration > Connectors.
-
Click Add.
-
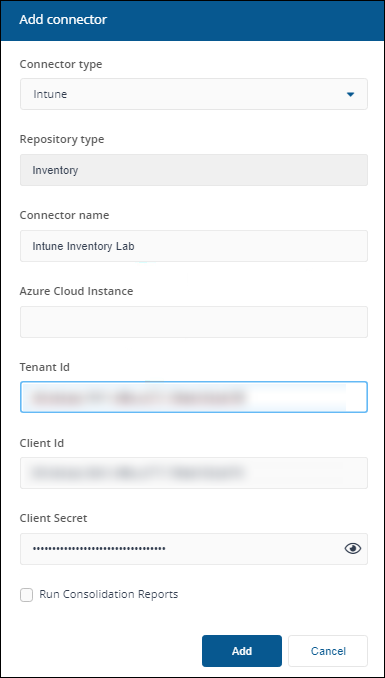
In the Add Connector pop-up window, select Intune as the connector type.
-
In Connector name, enter a logical name for this connector.
Use a naming convention for connector names, for example, <connector type> <scope> <RCR>. Scope describes where data is coming from or what it's being used for, for example, Demo, Test, Lab, Q2 Audit. Include RCR in the name if the Run Consolidation Reports option is available and you have enabled it.
-
In Azure Cloud Instance, enter the URL for your Intune implementation. If you leave this field blank, AzurePublic is used as a default. For information on Azure Cloud Instance, refer to this Microsoft article.
-
In Tenant Id, enter your Azure tenant ID, available in the Overview node of your AAD console.
-
In Client Id, enter your registered application clientID.
-
In Client Secret, enter the specific client secret value that you created for your Enterprise Application. Refer to Adding a client secret.
-
Select the Run Consolidation Reports checkbox if you want consolidation actions to be processed each time the Sync Data action is executed for the connector.
If you enable this on more than one connector, it can lead to unnecessary processing. The recommended method of processing consolidation actions is to schedule the action Generate Report - Basic Inventory Consolidation to execute after the Sync Data actions have run for all connectors. This will execute the remaining consolidation actions. Alternatively, select the Run Consolidation Reports checkbox on one of your connectors. You can view action processes in Settings > Process log.
-
Click Add.
For information on how to test or delete a connector, and how to sync data into a repository, refer to Connectors page.