Installation guide
This guide offers detailed instructions for downloading, installing, and upgrading the 1E Core app on your ServiceNow instance, as well as essential post-installation configuration steps.
App Installation
The 1E Core app is available on the ServiceNow App Store and can be installed on your ServiceNow instance by following the steps below:
-
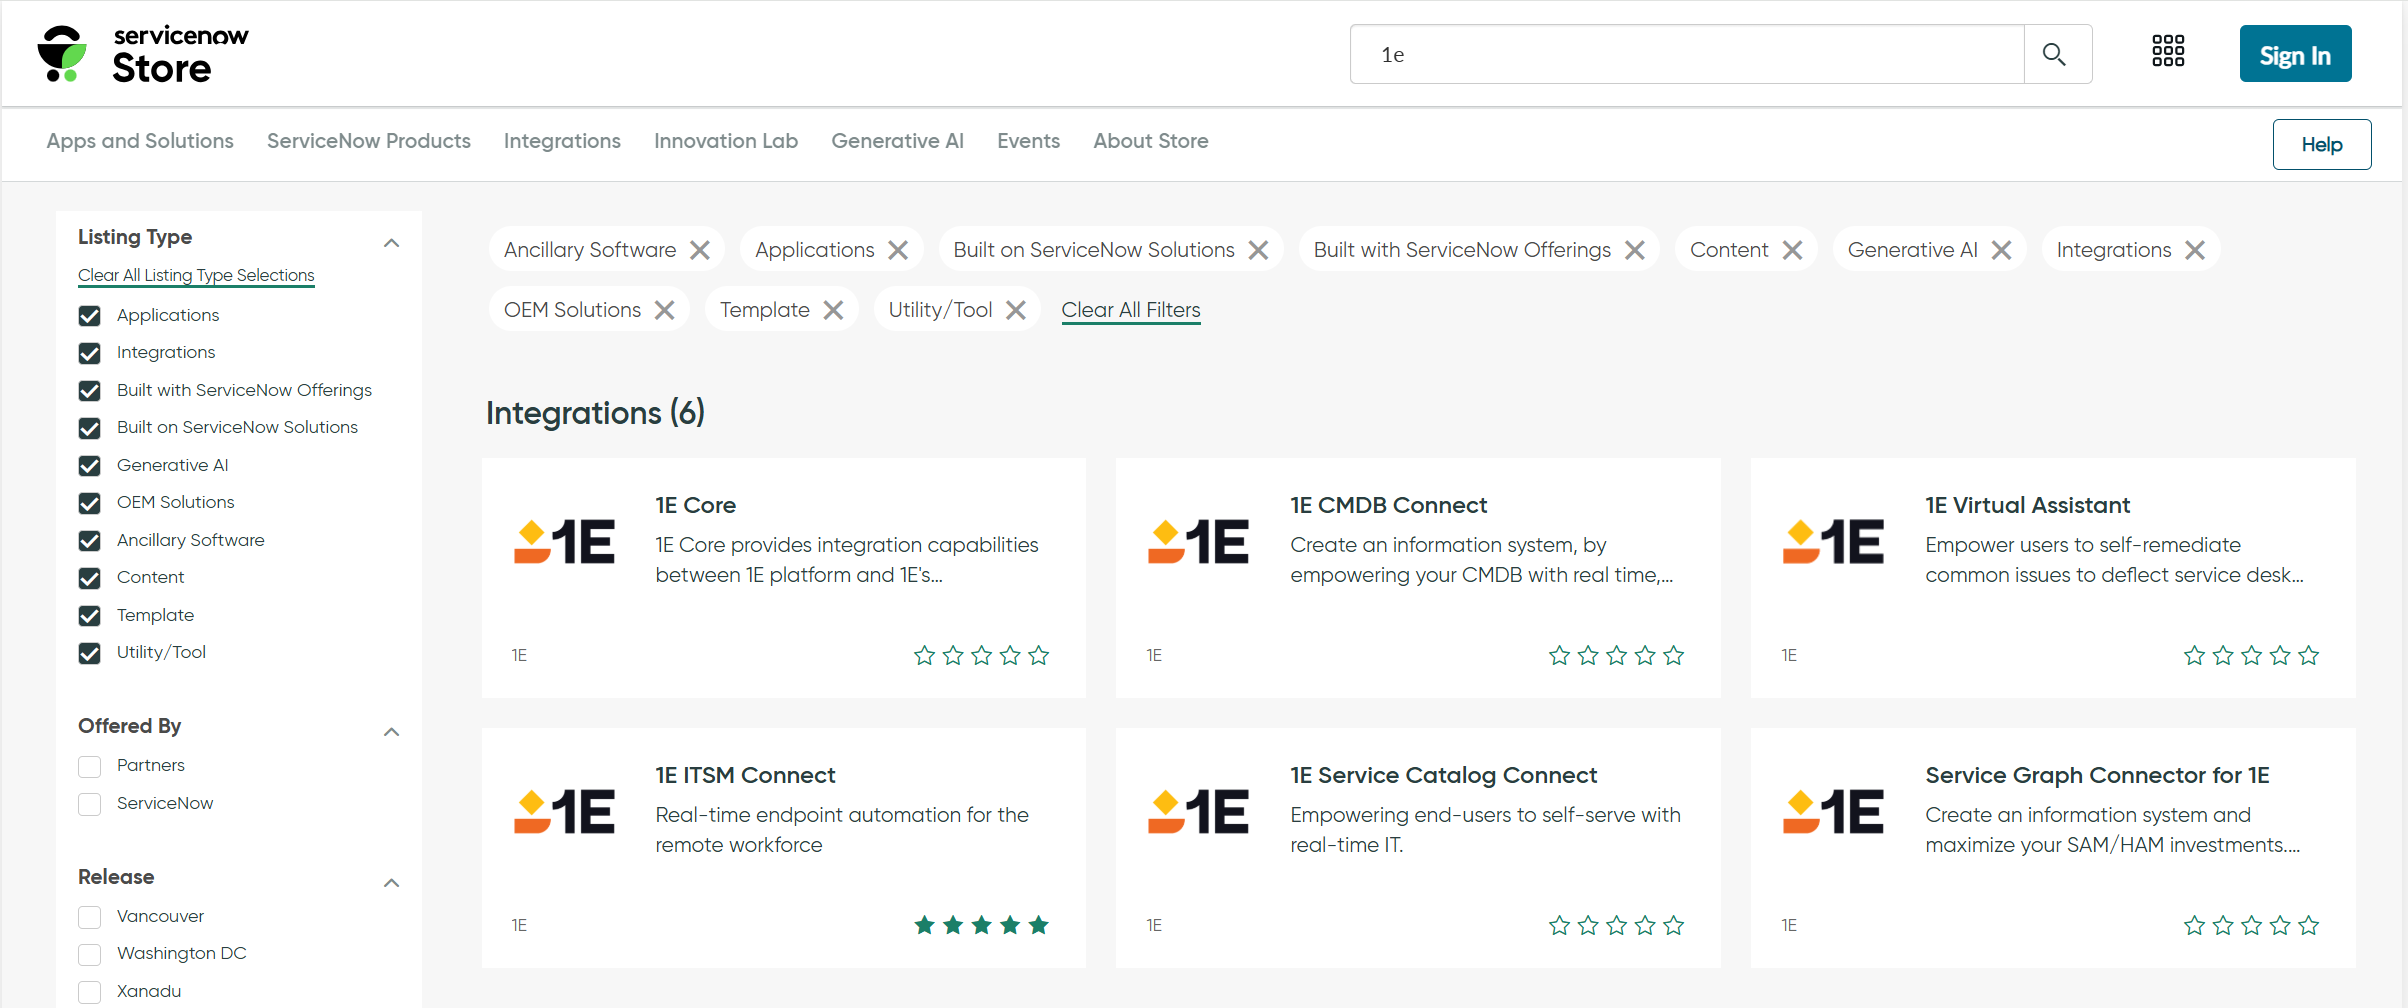
Browse the ServiceNow App store.
-
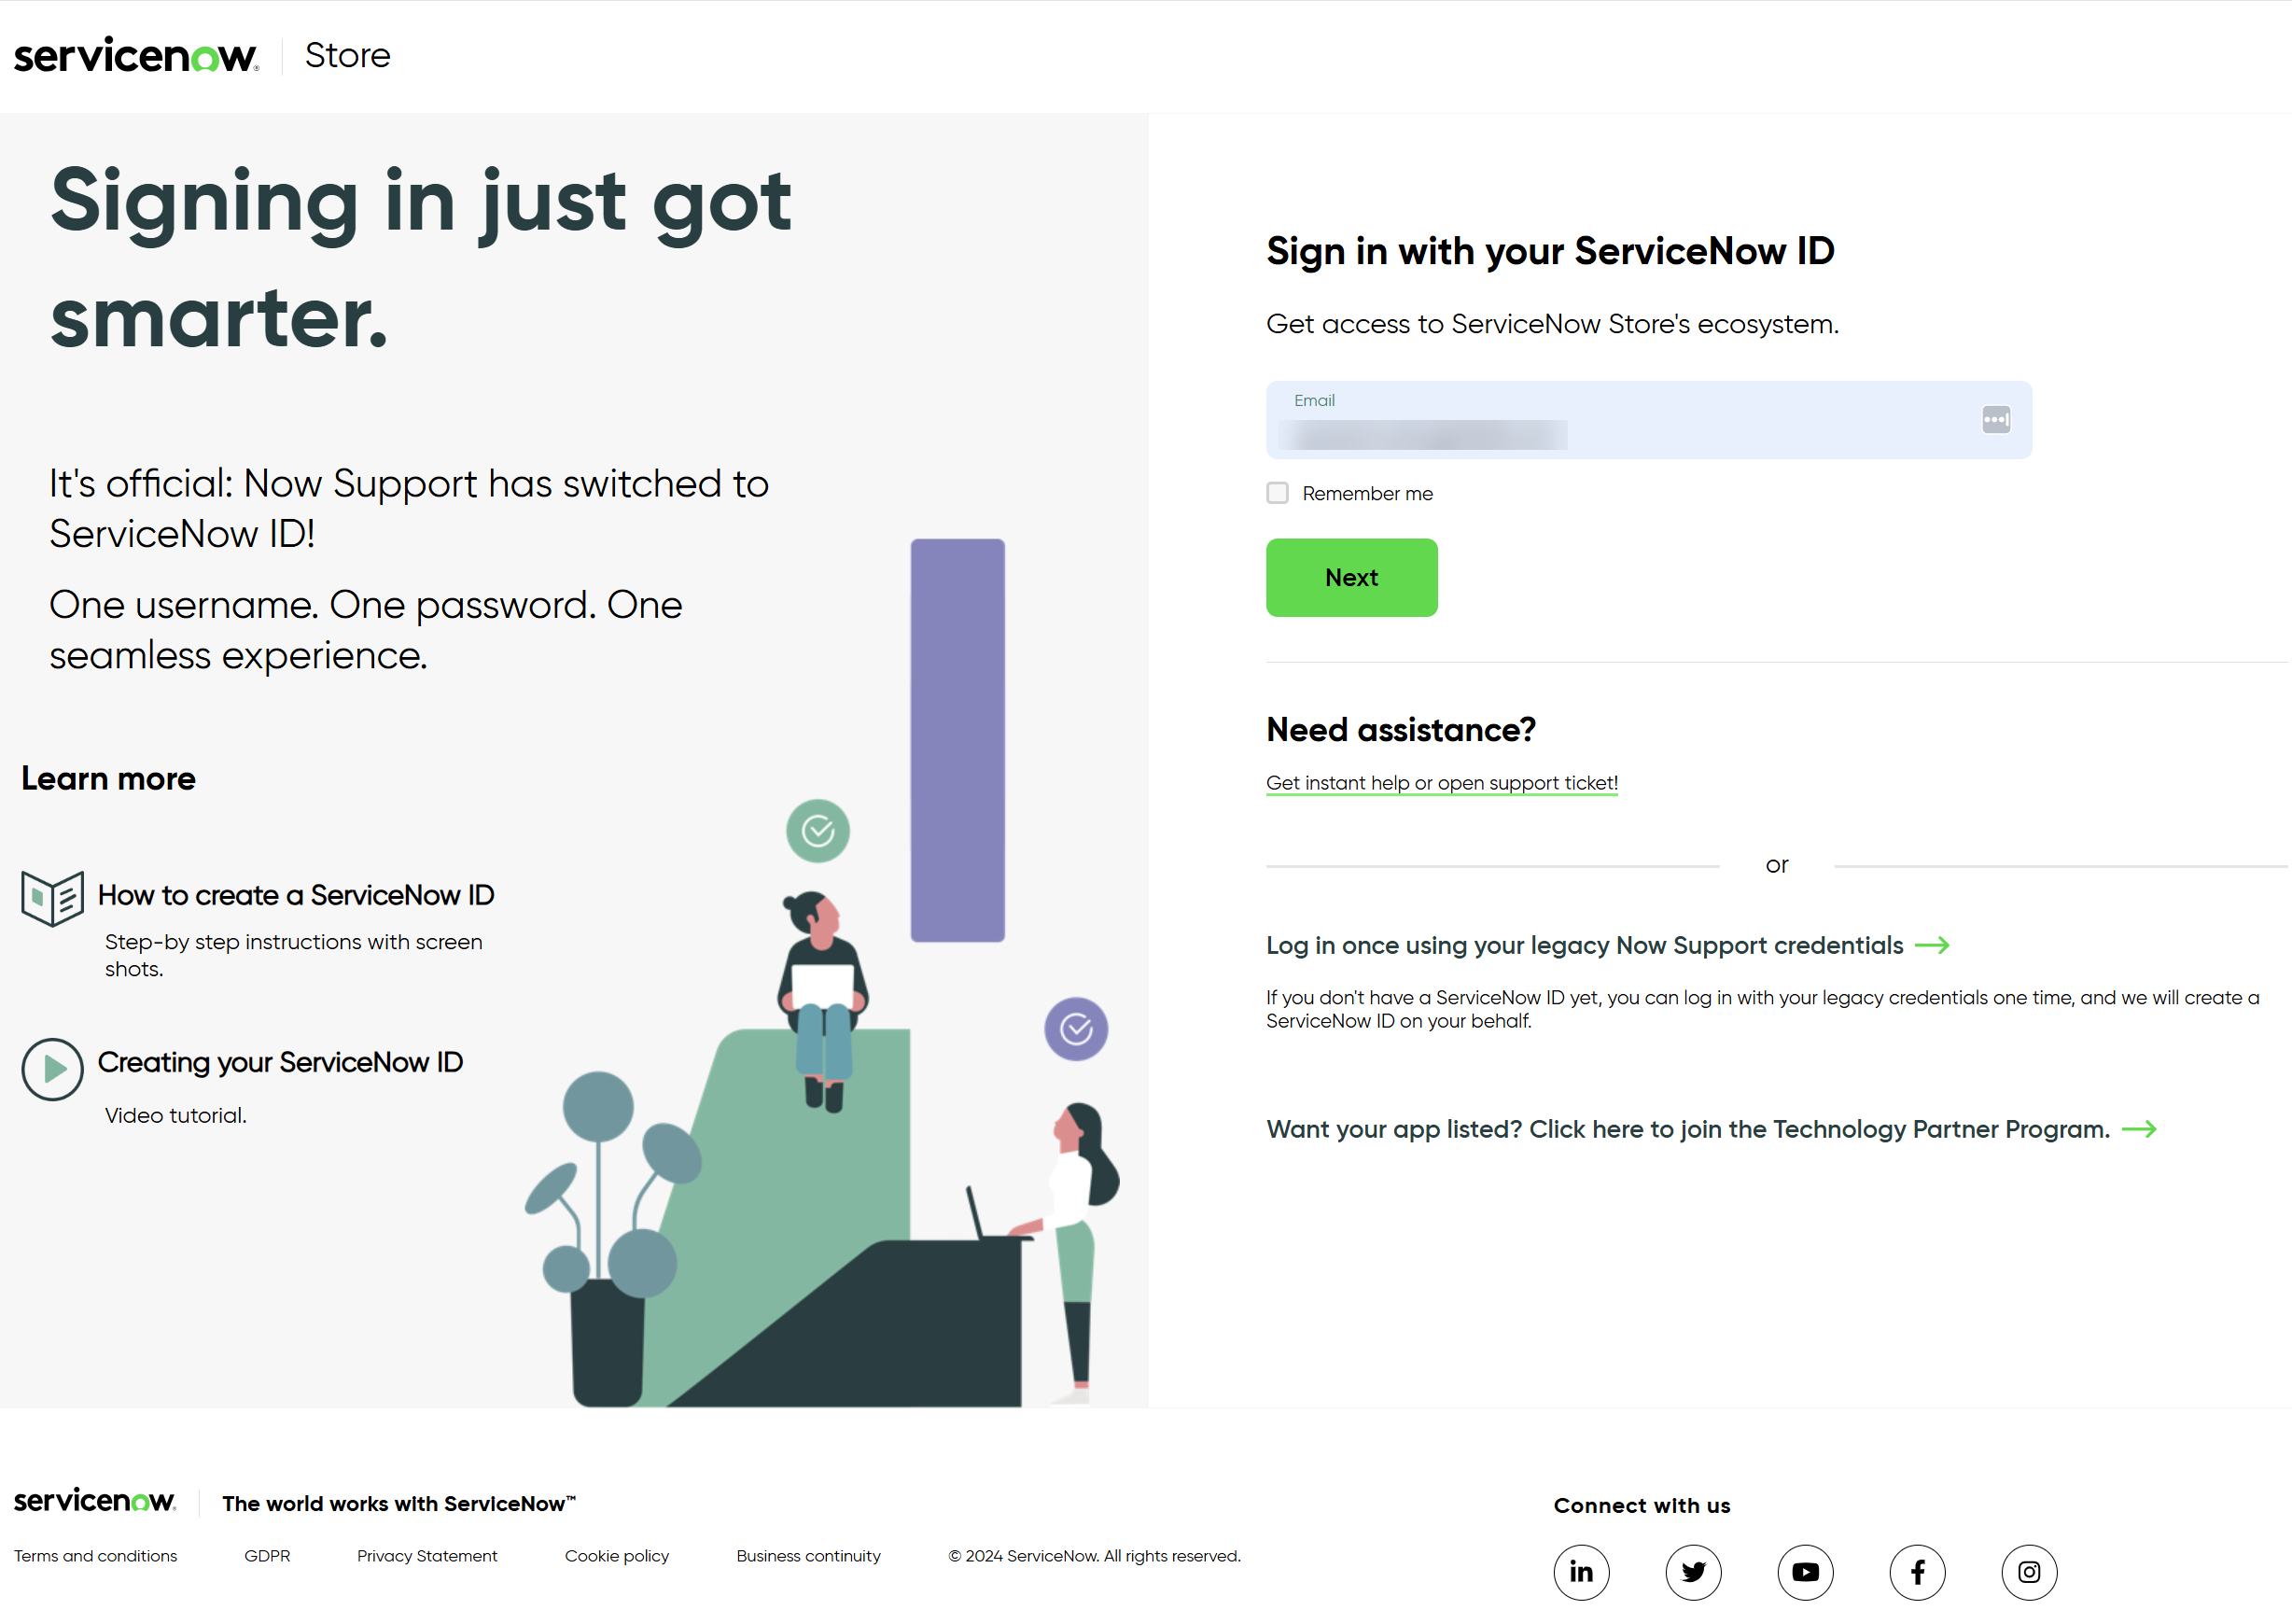
Click the Log In button at the top-right of the ServiceNow store to log in.
-
The Log In pop-up will prompt you to enter your credentials. Enter the details you provided when setting up your ServiceNow support account.

-
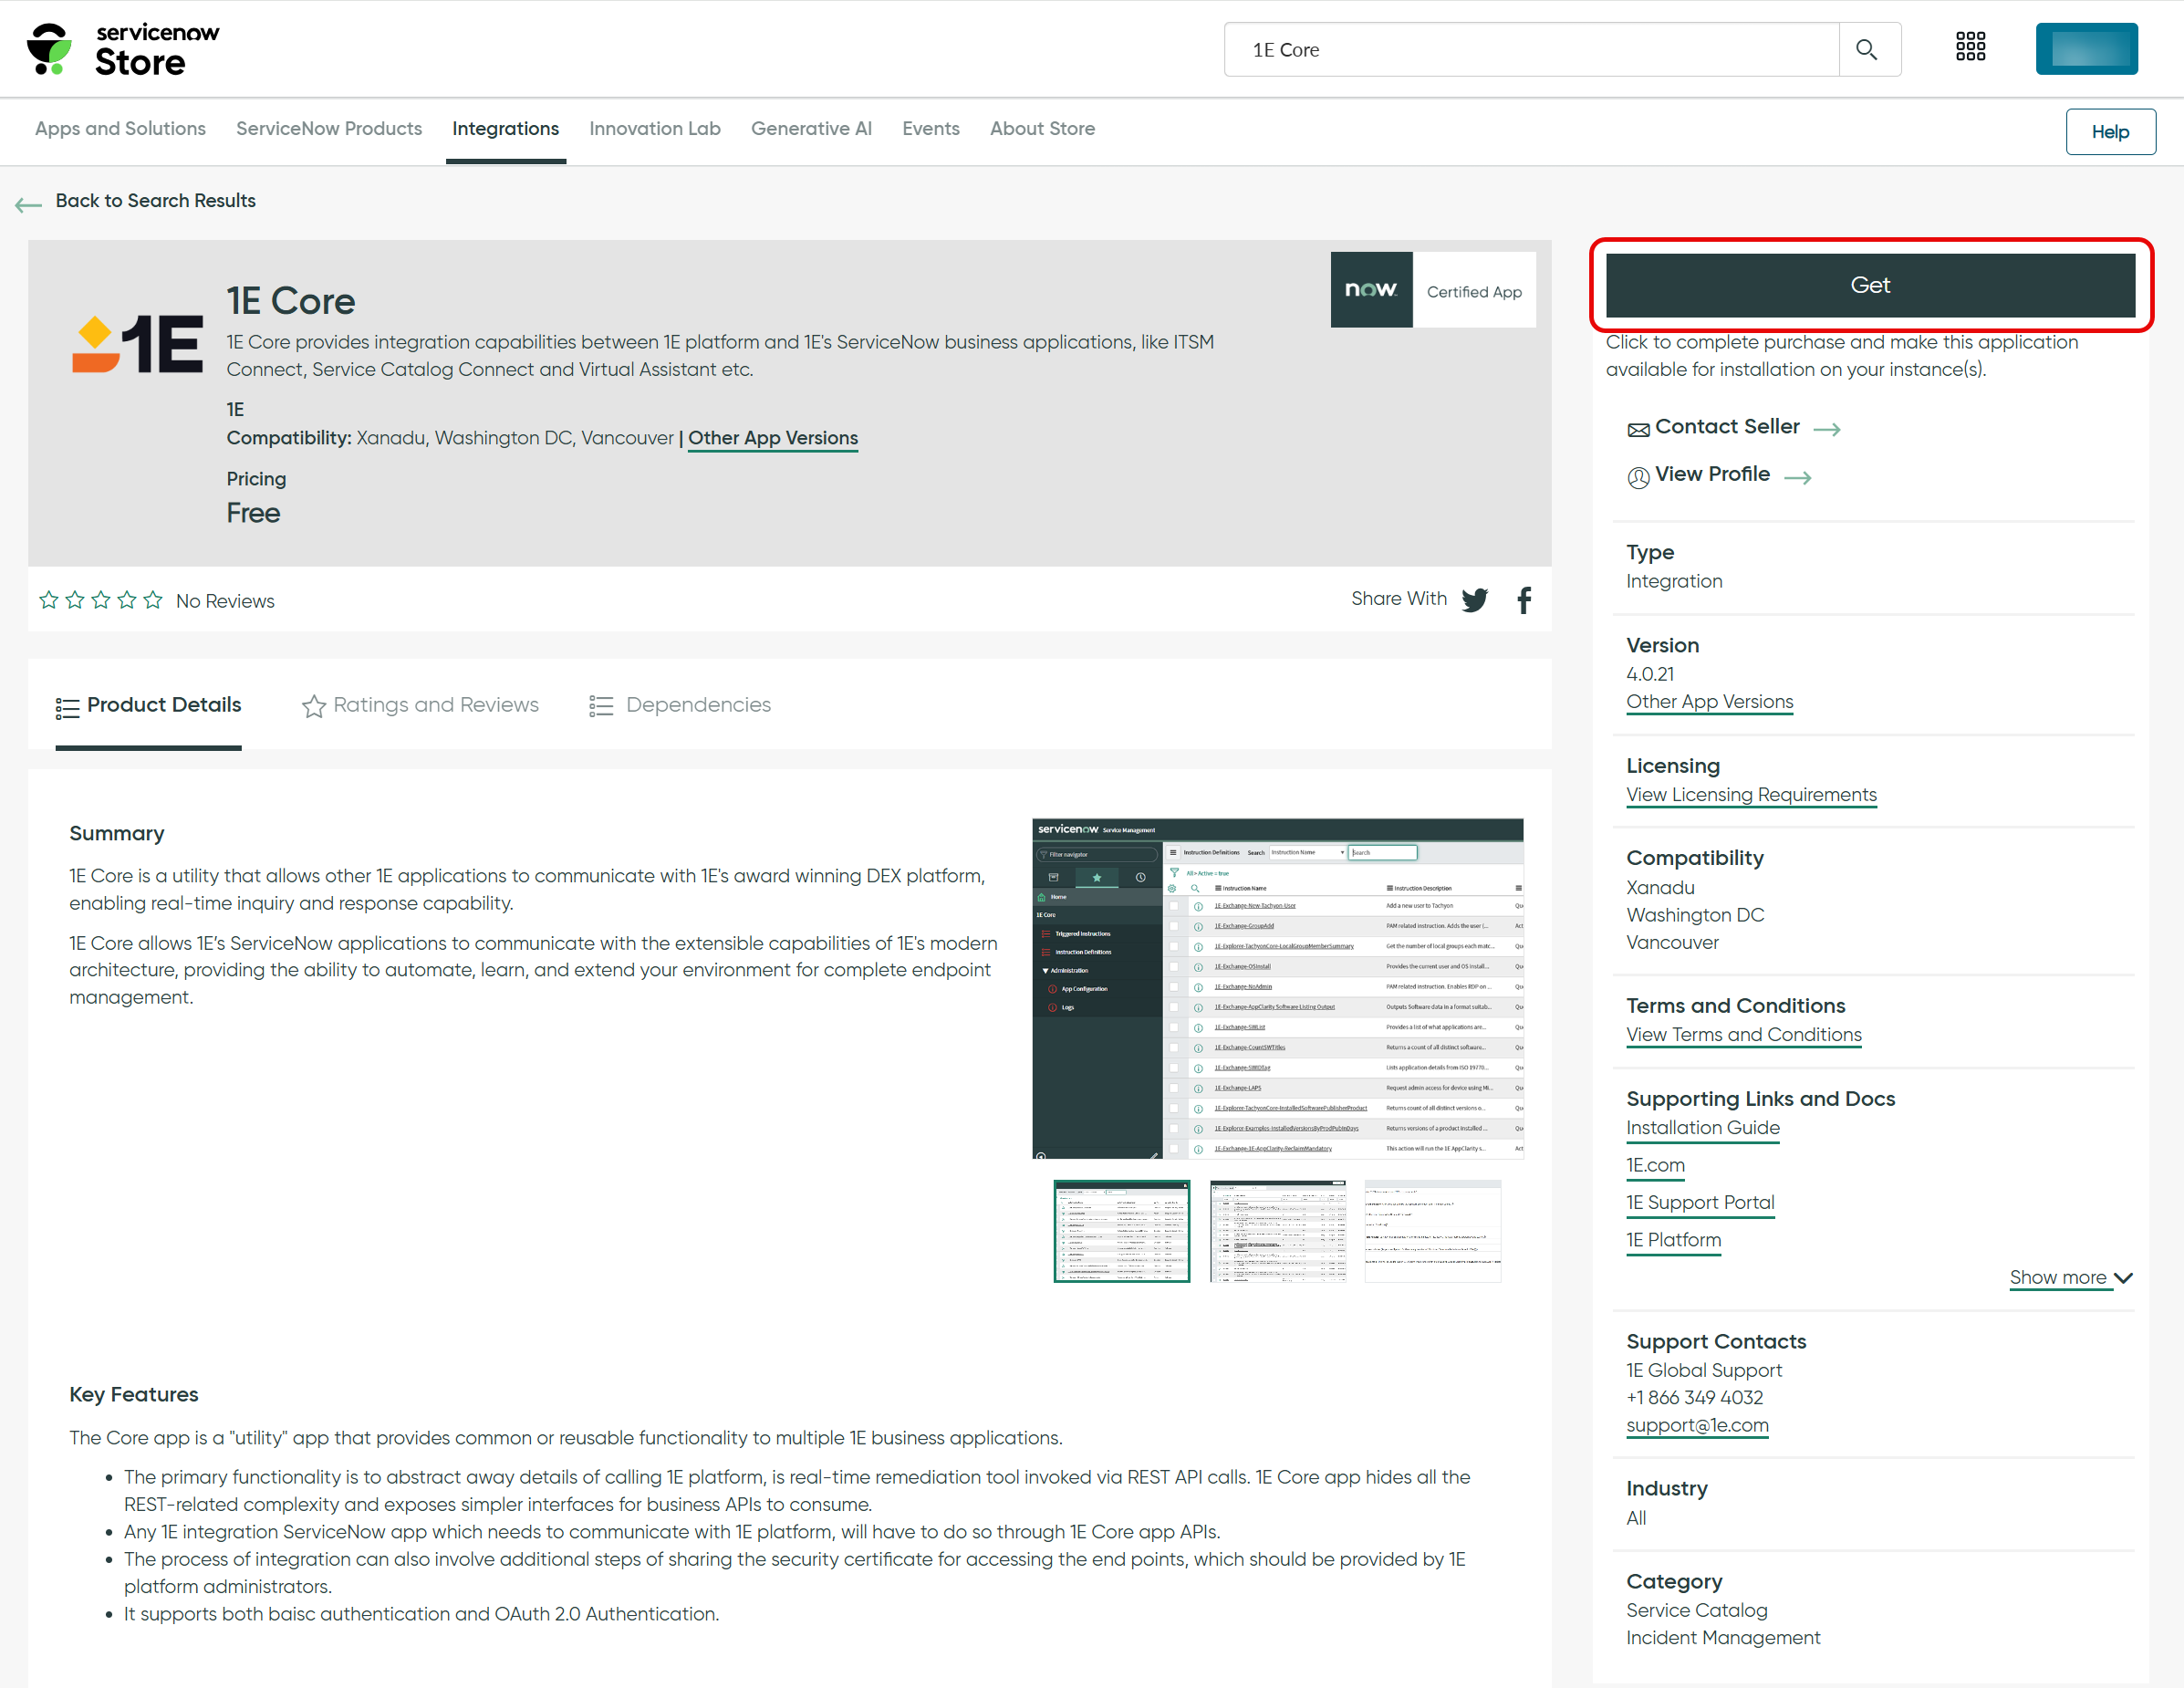
The 1E Core app will now install automatically on your ServiceNow instance. The ServiceNow Instance details are already available in ServiceNow because they are part of your TPP credentials.
For administrative users, when switching between ServiceNow apps, the app context may not always update correctly. This can result in the app page properties being grayed out, preventing edits. Occasionally, ServiceNow will display a message in the top right corner of the page indicating this issue:
-
"Warning Message: This record is in the <application you just switched to> application, but <the previous app> is the current application. To edit this record, click here."
-
Clicking 'click here' will resolve this issue. However, since this message doesn't always appear, it's best to allow the administrative user to change app contexts as needed. This can be done by following the steps below:
-
Select the user from the users list to open the user details page.
-
Click the Settings (globe) icon in the top right corner.
-
You can set the Domain scope, Application scope, and Update set from here.
-
Ensure the Show application picker in header option is enabled.
-
-
The administrative user can now select the current application from the ServiceNow header.
-
For further information, read Post-installation tasks for 1E Core.
-
Upgrading 1E Core
If you have an older version of the 1E Core application installed on your ServiceNow instance, it is recommended to upgrade to the latest version.
Before upgrading, ensure that the following tables have been backed up:
-
Triggered Instructions
-
Instruction definitions
Also ensure that you keep a copy of your App Configuration settings, which can be used for re-configuration in case of any discrepancy.
You can upgrade your application from either of the below:
- My Company Applications
- Plugins/All Available Applications
Using My Company Applications
Follow the steps below to upgrade the application:
-
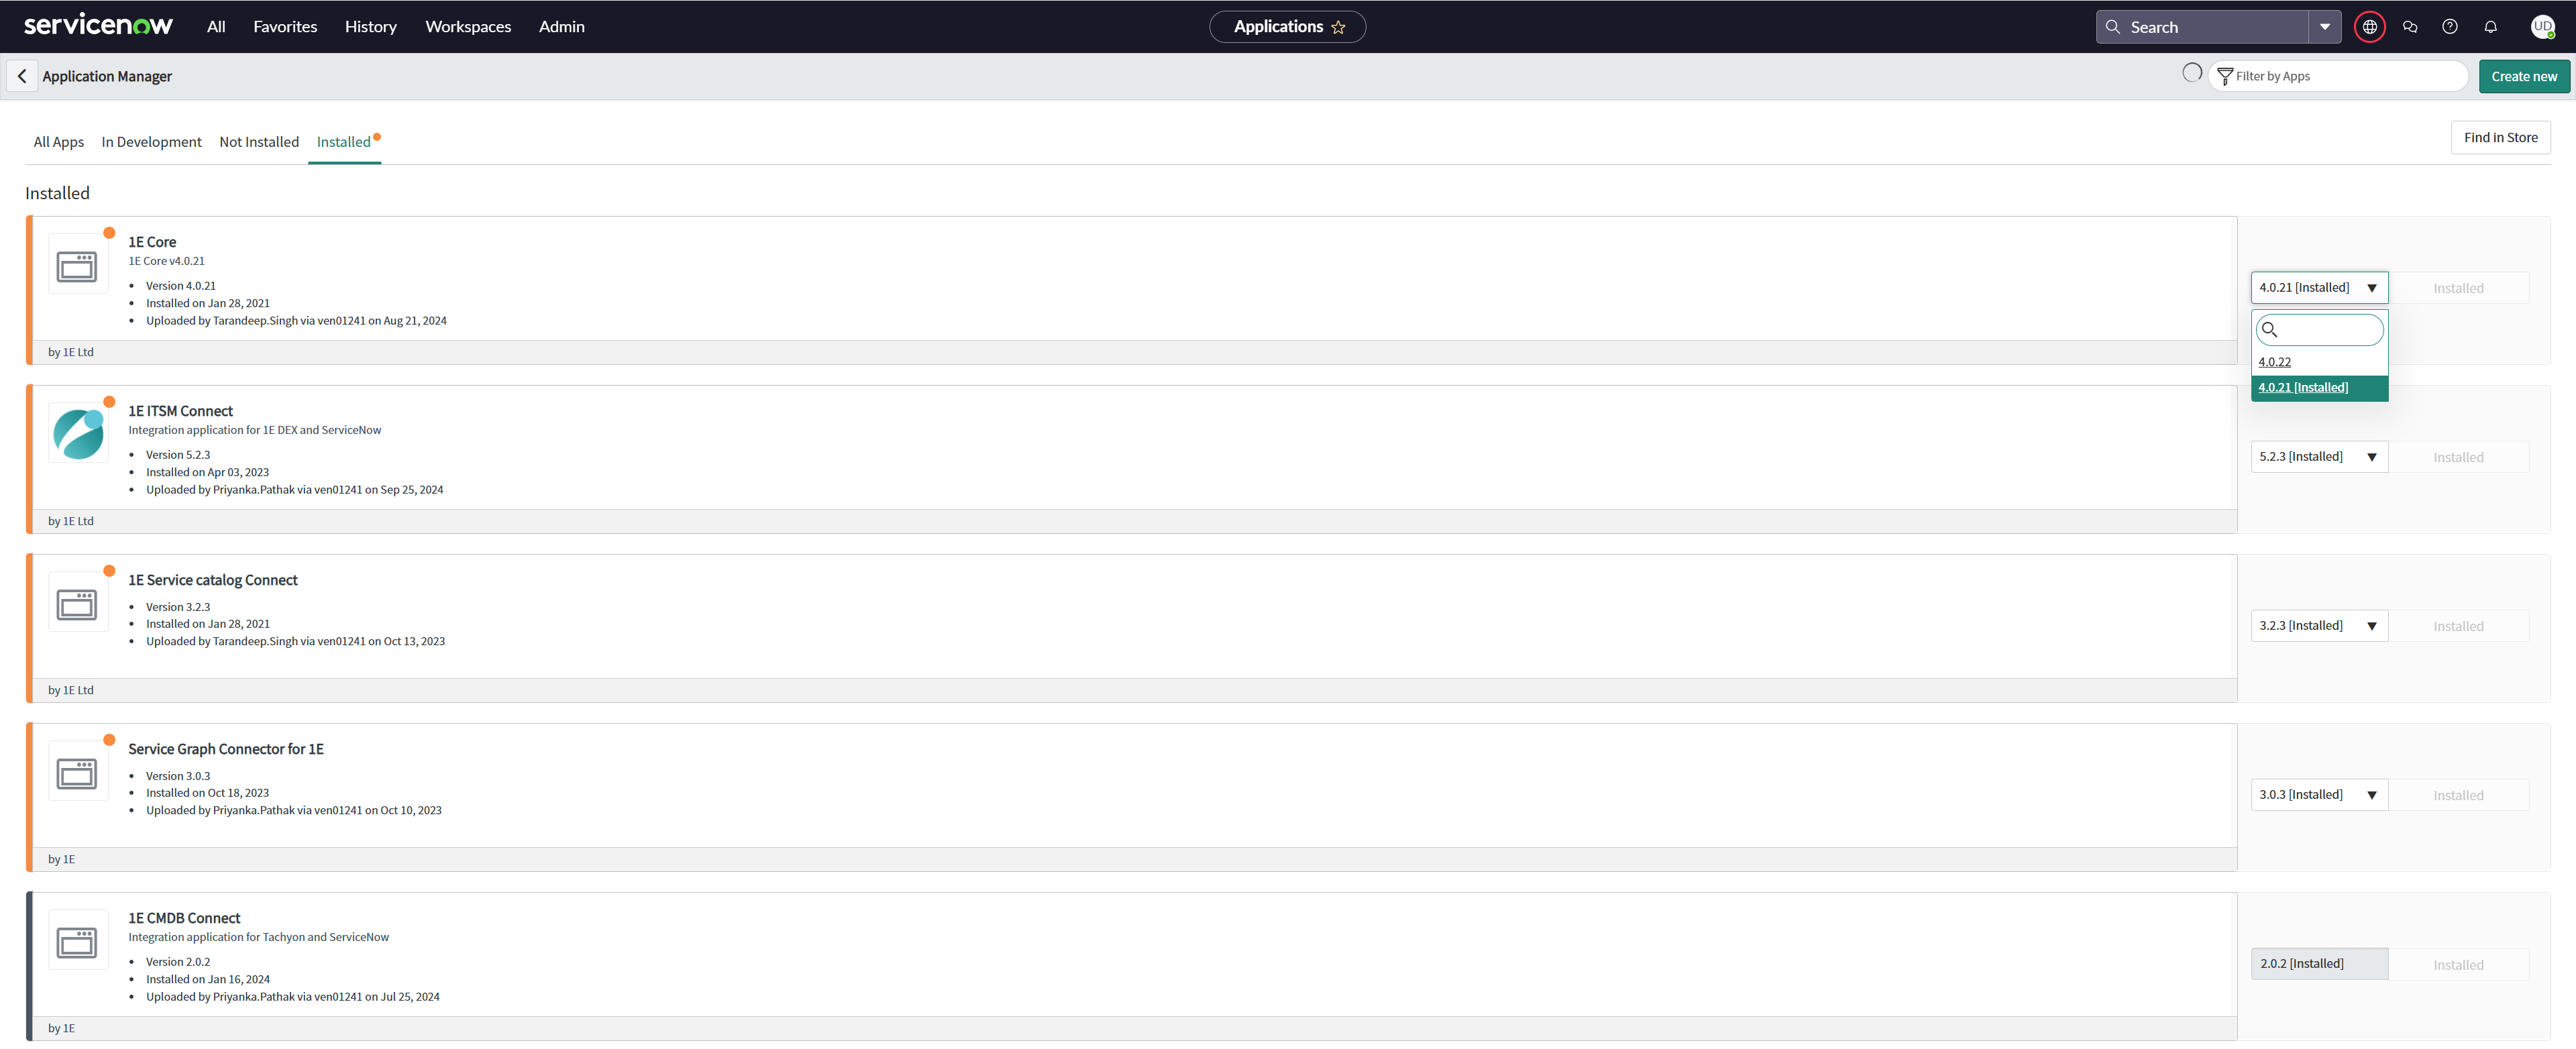
In ServiceNow, navigate to My Company Applications. This opens up an Application Manager page as shown in the picture below.
-
Click the Installed tab on Application Manager page to see the list of installed applications.
-
Select 1E Core from the list, choosing the latest version from the dropdown and click Update.
-
You now have the latest version of 1E Core available.
Using Plugins/All Available Applications
Follow the steps below to upgrade your 1E Core application:
- In your ServiceNow instance, navigate to the Application manager page. Using either of the below:
- System Definitions > Plugins > Application Manager or
- System Applications > All Available Applications > All
- Search for 1E applications using the search field.
- Click the Installed tab on Application Manager page to see the list of installed applications.
- Select 1E Core from the list, choose the latest version from the drop-down list and click Update.


