Configuring ASP.NET for Windows Server 2012 R2
To configure ASP.NET (must be ASP.NET 4.5 for FIPS compliance) for Windows Server 2012 R2:
-
Start Server Manager.
-
From the Manage menu (top-right menu bar), select Add Roles and Features.
-
On the Before you begin, page click Next.
-
On the Installation Type page, ensure Role-based or feature-based installation is selected and click Next.
-
On the Server Selection page, ensure the local server is selected and click Next.
-
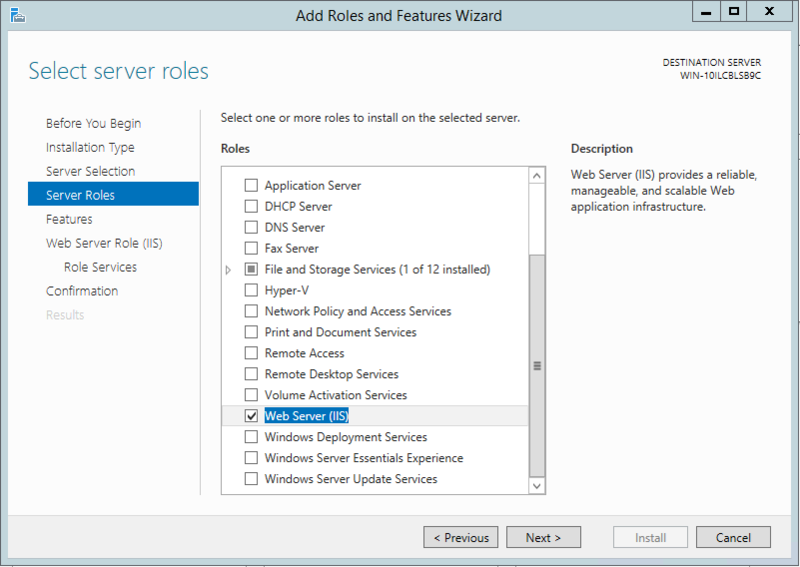
On the Server Roles page, check the Web Server (IIS) server role.
-
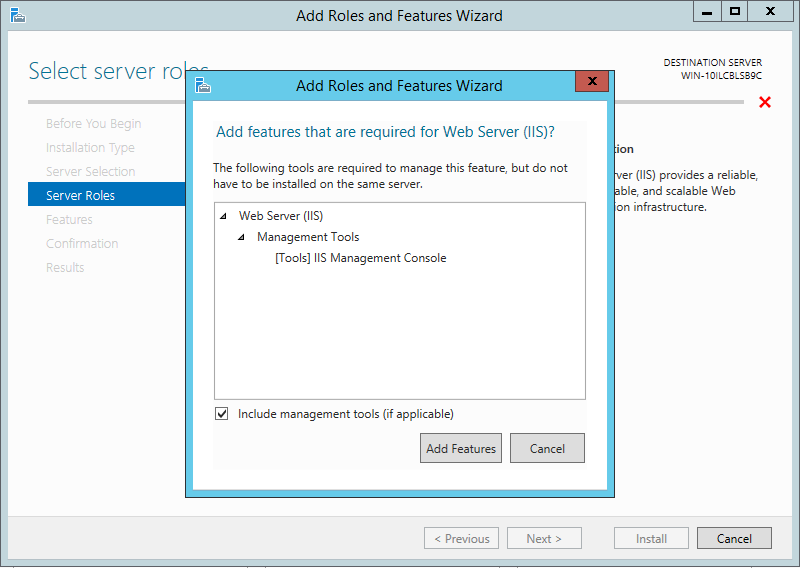
In the dialog, click Add Features to add the features required for Web Server (IIS).
-
The Web Server Role (IIS) page is added after the Web Server (IIS) is checked on the Server Roles page.
-
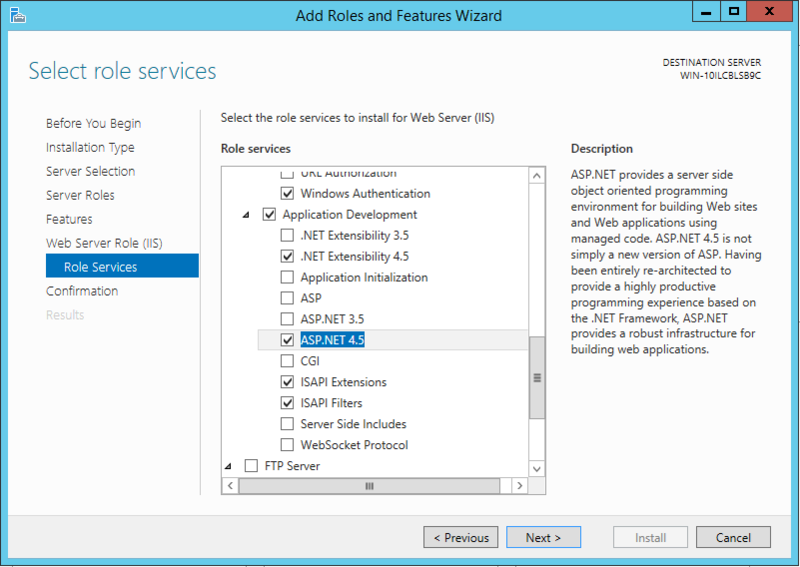
On the Role Services page under Web Server Role (IIS), expand the Security node and check Windows Authentication.
-
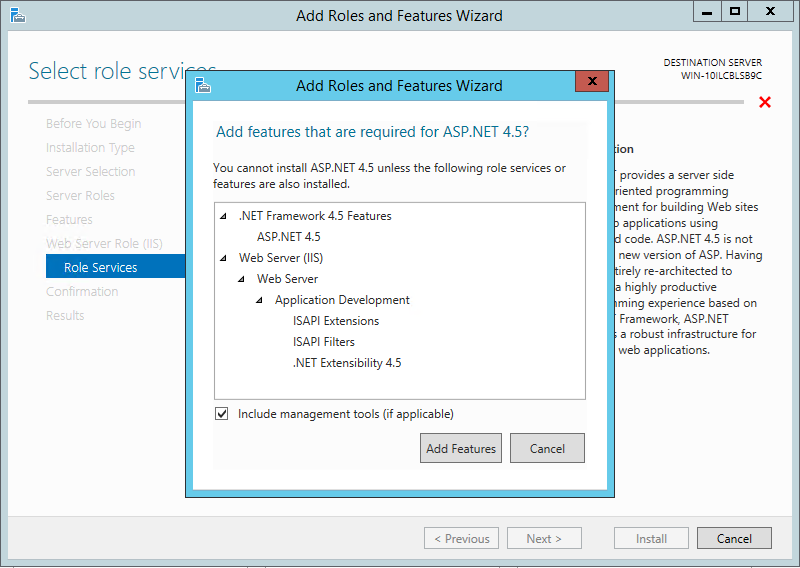
Expand Application Development and check the ASP.NET 4.5 node (this also checks a number of other options, such as ISAPI Extensions and ISAPI Filters).
-
When you select ASP.NET 4.5 you will be prompted to add features related to that role. Click Add Features in the dialog to add all the features.
-
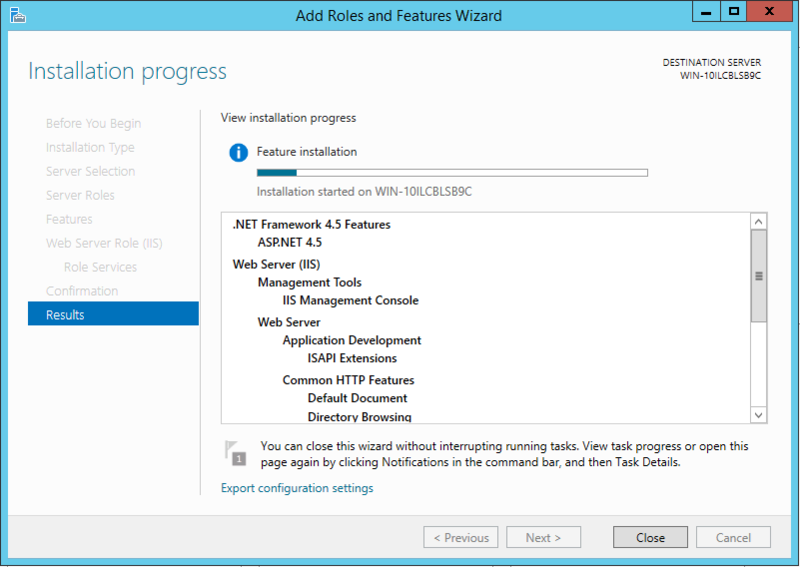
After you have made the necessary changes, click Install to begin the role installation. Installation progress is displayed while the components are being installed.