Okta authentication setup
1E Solutions support Okta IdP for authentication purpose. For this to work, an application is required in Okta.
Setting up an application
Depending on your environment you can either create a new app or use an existing one to authenticate to 1E Solutions.
For more information about creating and configuring the Azure AD applications required for 1E Platform SaaS instances. Refer to Okta Applications.
Follow the below given steps to setup an application in Okta for Solutions:
-
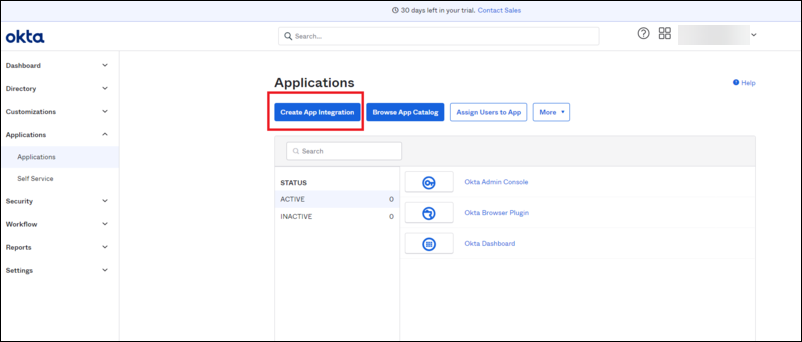
In the Okta admin portal navigate to Applications and select Create App Integration as shown.
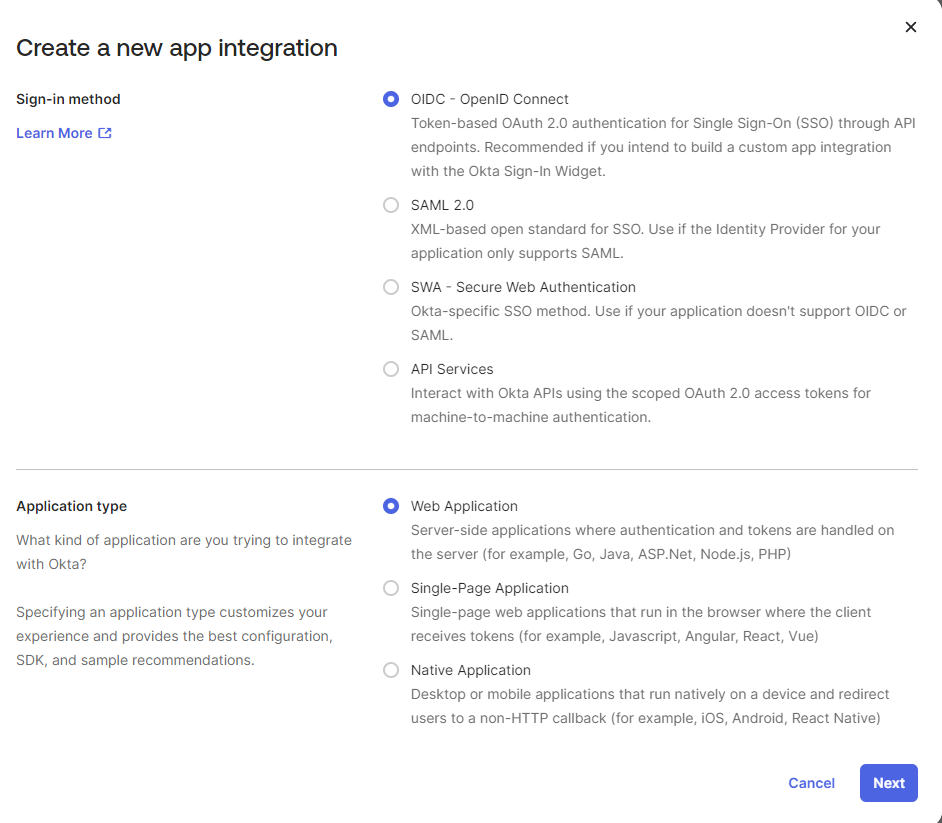
- On Create a new app integration page, select Sign-in method as OIDC-OpenID Connect and Application type as Web Application and click Next.
-
In the App integration name field provide the name for the application.
-
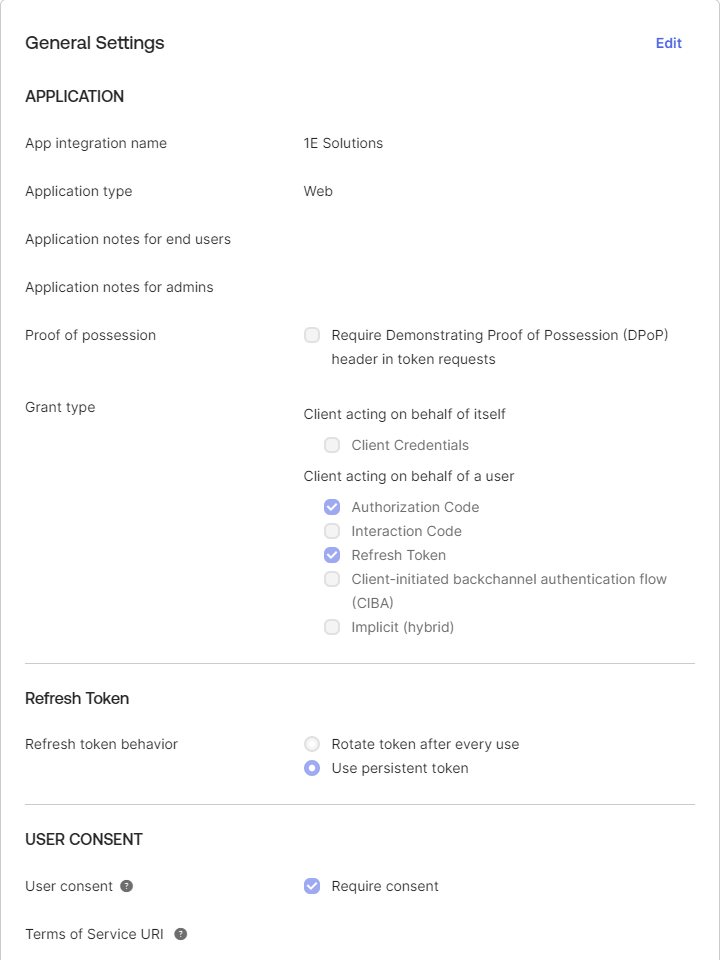
In the Grant type, check both the Authorization Code and Refresh Token checkboxes.
-
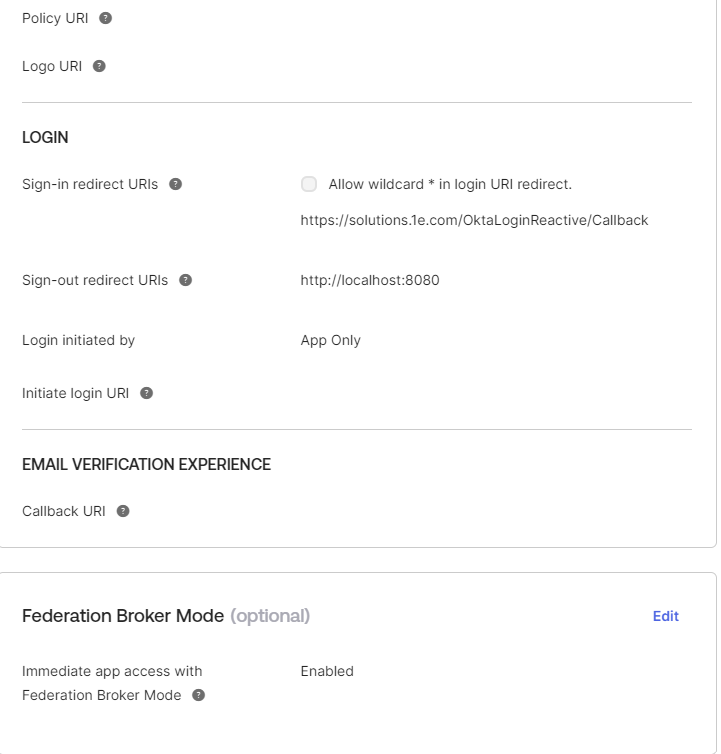
In Sign-in redirect URIs input the URL provided by 1E into the field.
-
In Assignments, select Allow everyone in your organization to access. Leave the Enable immediate access check box to its default state.
-
Click Save to save the application.
-
-
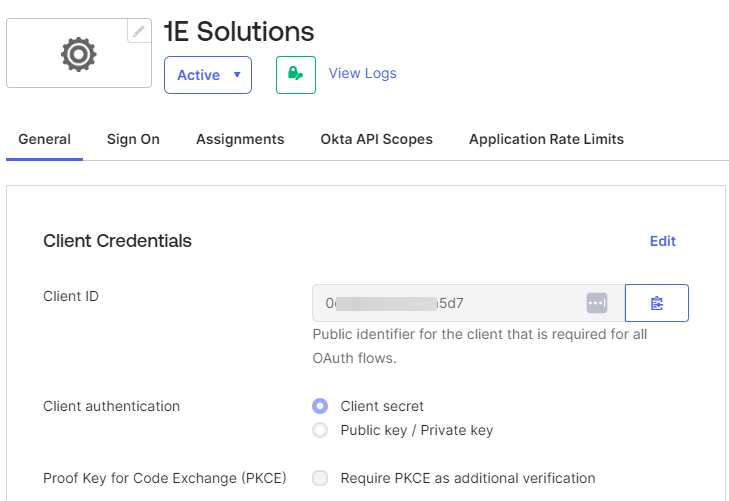
From the Client Credentials page Copy the Client ID and select Client authentication as Client secret.
-
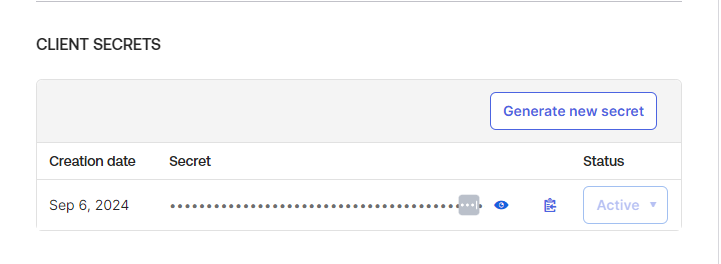
Get the Client secret from the Client secret section.
-
The General Settings of the application should look like below:
-
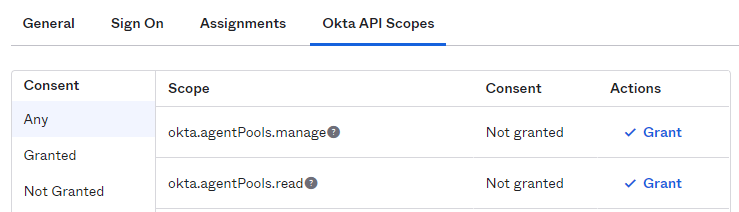
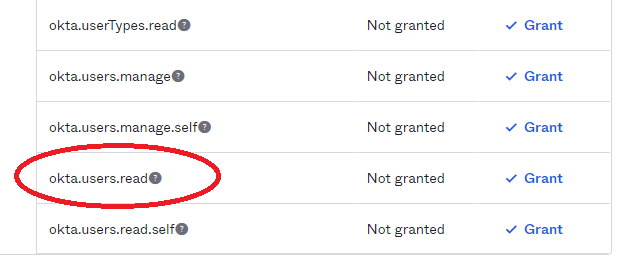
To assign permissions to the applications, click the Okta API Scopes tab and ensure that the okta.users.read scope is granted to the app.
-
The following information to be shared with 1E to configure support for Okta in Solutions:
-
Customer Name
-
Okta Url
-
Client ID of the application
-
Client secret of the application
-
Admin email
-
Okta support for non-interactive auth
For non-interactive authentication, create an application for integration as mentioned in Okta 1E integrations. Refer Okta Applications for more details.