User management
A user is an individual who has access to your ServiceNow instance and its features. Depending on the role assigned to a user, they can access various functionalities within the platform.
Roles
Access to features in the 1E Core application is controlled through roles created in ServiceNow during the application's installation. The details of these roles are provided in the following table.
|
Role name |
Description |
|---|---|
|
x_1e_core_connect.admin |
This role allows you to configure the 1E Core app settings. ServiceNow admin users must change their application scope to 1E Core to configure the application and retrieve instructions. |
|
x_1e_core_connect.tenant_user |
This role allows you to do the following:
The role is inherited from the 1E ServiceNow applications and allows access to the 1E Core application tables. |
|
x_1e_core_connect.user |
This role is inherited from other 1E ServiceNow applications and is used to access 1E Core application tables. |
These are the roles required for the proxy user and can be maintained in 1E Core.
|
Role name |
Management Group |
|---|---|
|
All Instructions Actioner |
All devices |
|
Guaranteed State User |
All devices |
|
1E ITSM Connect Actioner |
All devices |
|
Experience User |
All devices |
|
Remote Support |
All devices |
The Remote Support role is required only for the TeamViewer Session Connect feature in 1E ITSM Connect. Refer to TeamViewer integration.
Adding a user
To add a new user to the 1E Core app, follow the steps below:
-
Log in to ServiceNow with Full Administrator credentials.
-
Navigate to User Administration and search for Users in the navigation panel.
- Click the Users tab under User Administration.
- Click the New button on the right side of the header.
- Enter the required details and click Submit.
- After submission, check that the user has been added by searching for the user's name in the header.
Adding or removing a role
A ServiceNow Administrator can update the roles of an existing user by following the steps below. This is necessary for the 1E Core app to assign the appropriate roles to access 1E and administer the 1E ITSM Connect app.
-
In ServiceNow, navigate to User Administration > Users and use the search field to find the user you want to update.
-
Click the link in the UserID column to view the relevant user's details.
-
Select the Roles tab and click the Edit button.
-
On the Edit Members page, search for roles containing the word core. In our example, we type the text core in the Collection search field. Doing this displays the related roles in the Collection list. You might find some of these roles in the list:
-
x_1e_core_connect.admin
-
x_1e_core_connect.user
-
x_1e_core_connect.tenant_user
-
-
To add a role to the user, select it from the Collection list and click the > button to move it to the Roles List.
-
To remove a role that has been assigned to a user, select that role from the Roles List and click the < button.
-
Once the required roles have been selected, click the Save button to add or remove those roles from the user.
-
When this is done, the User details page will display the selected user's updated roles.
Deleting a user
Administrators can delete users from ServiceNow by following the steps below:
-
In ServiceNow, navigate to User Administration > Users and use the search field to find the user you want to delete.
-
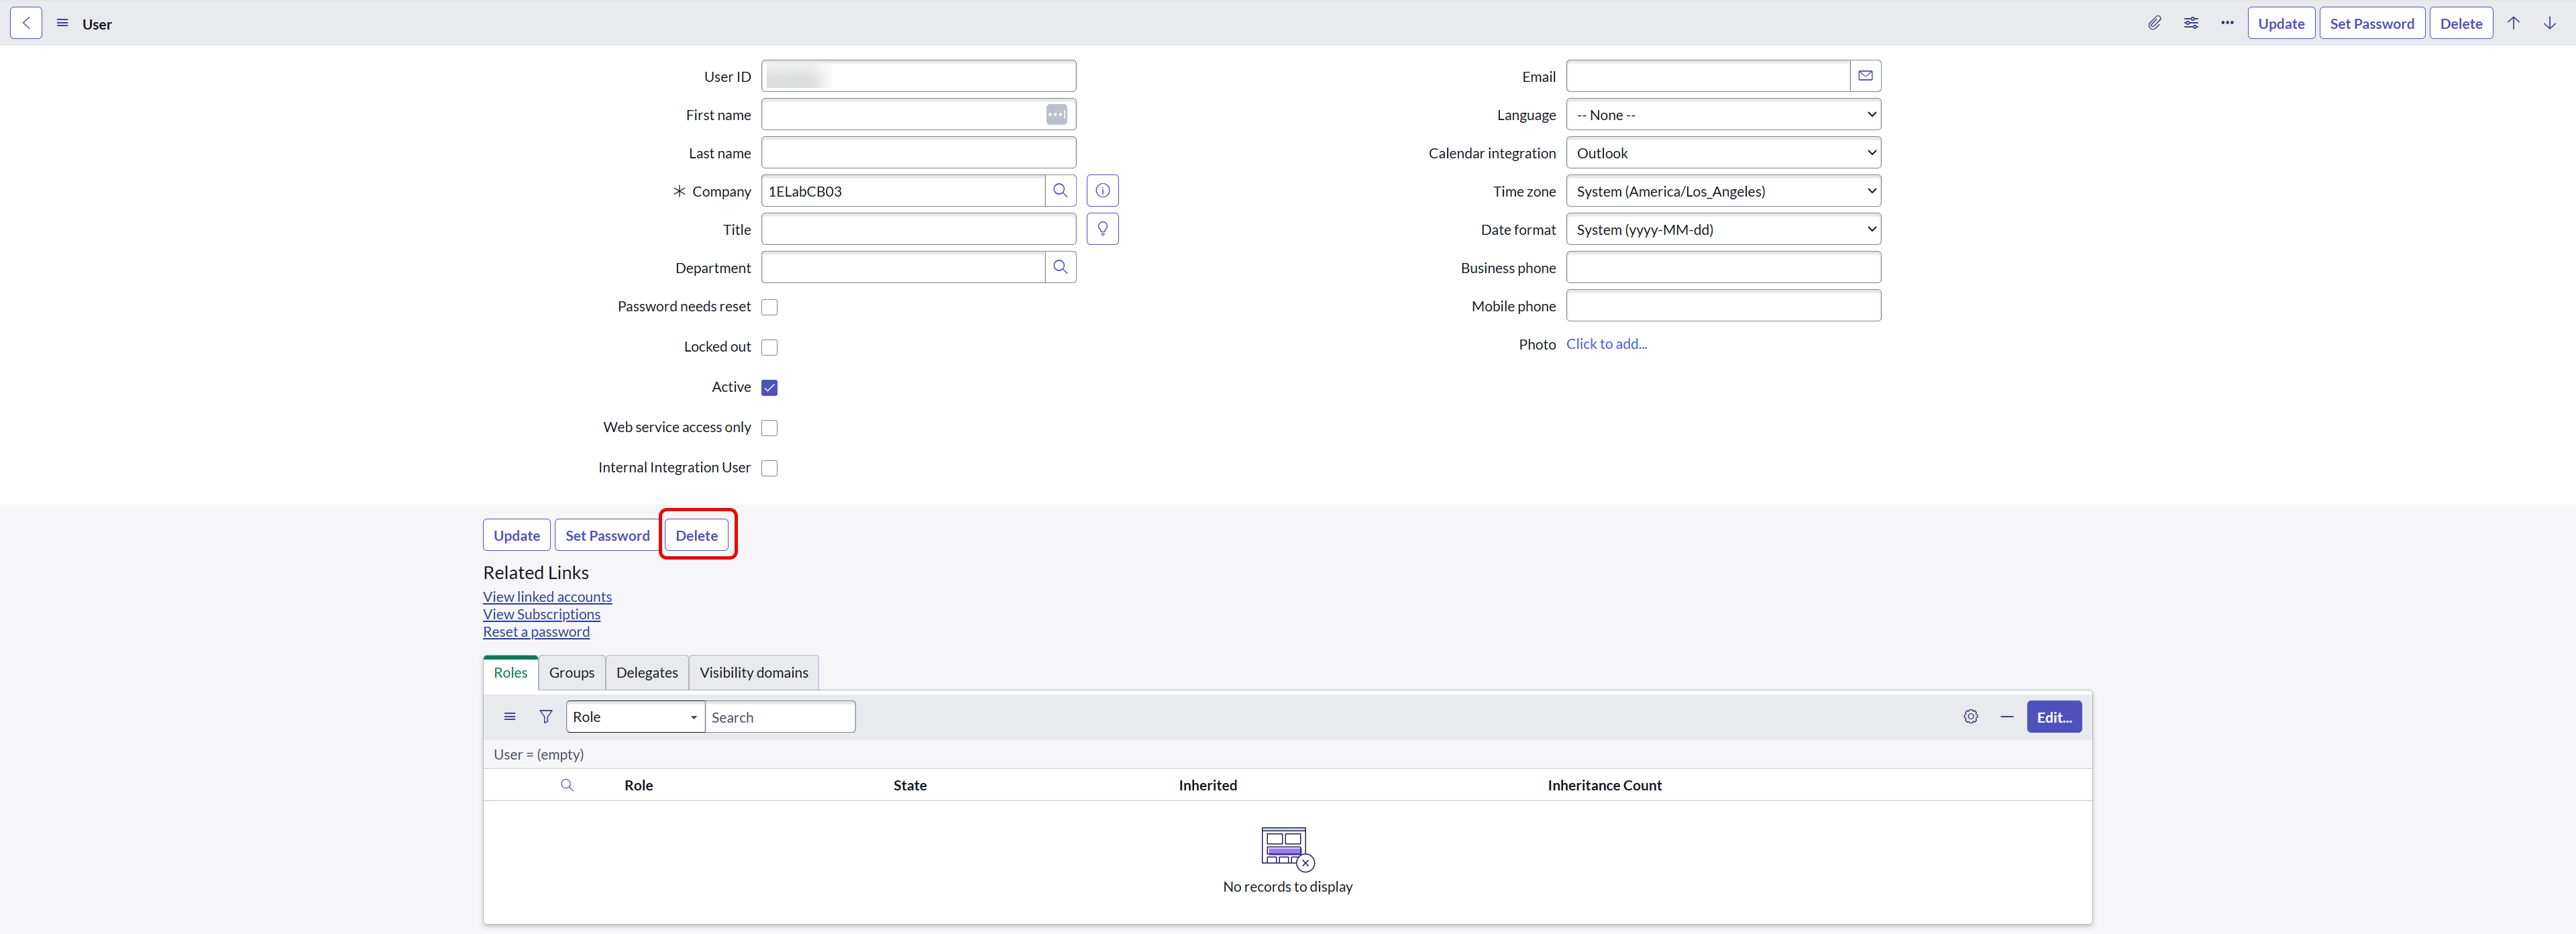
When the user is displayed, click the link in the UserID column to open the user's details.
-
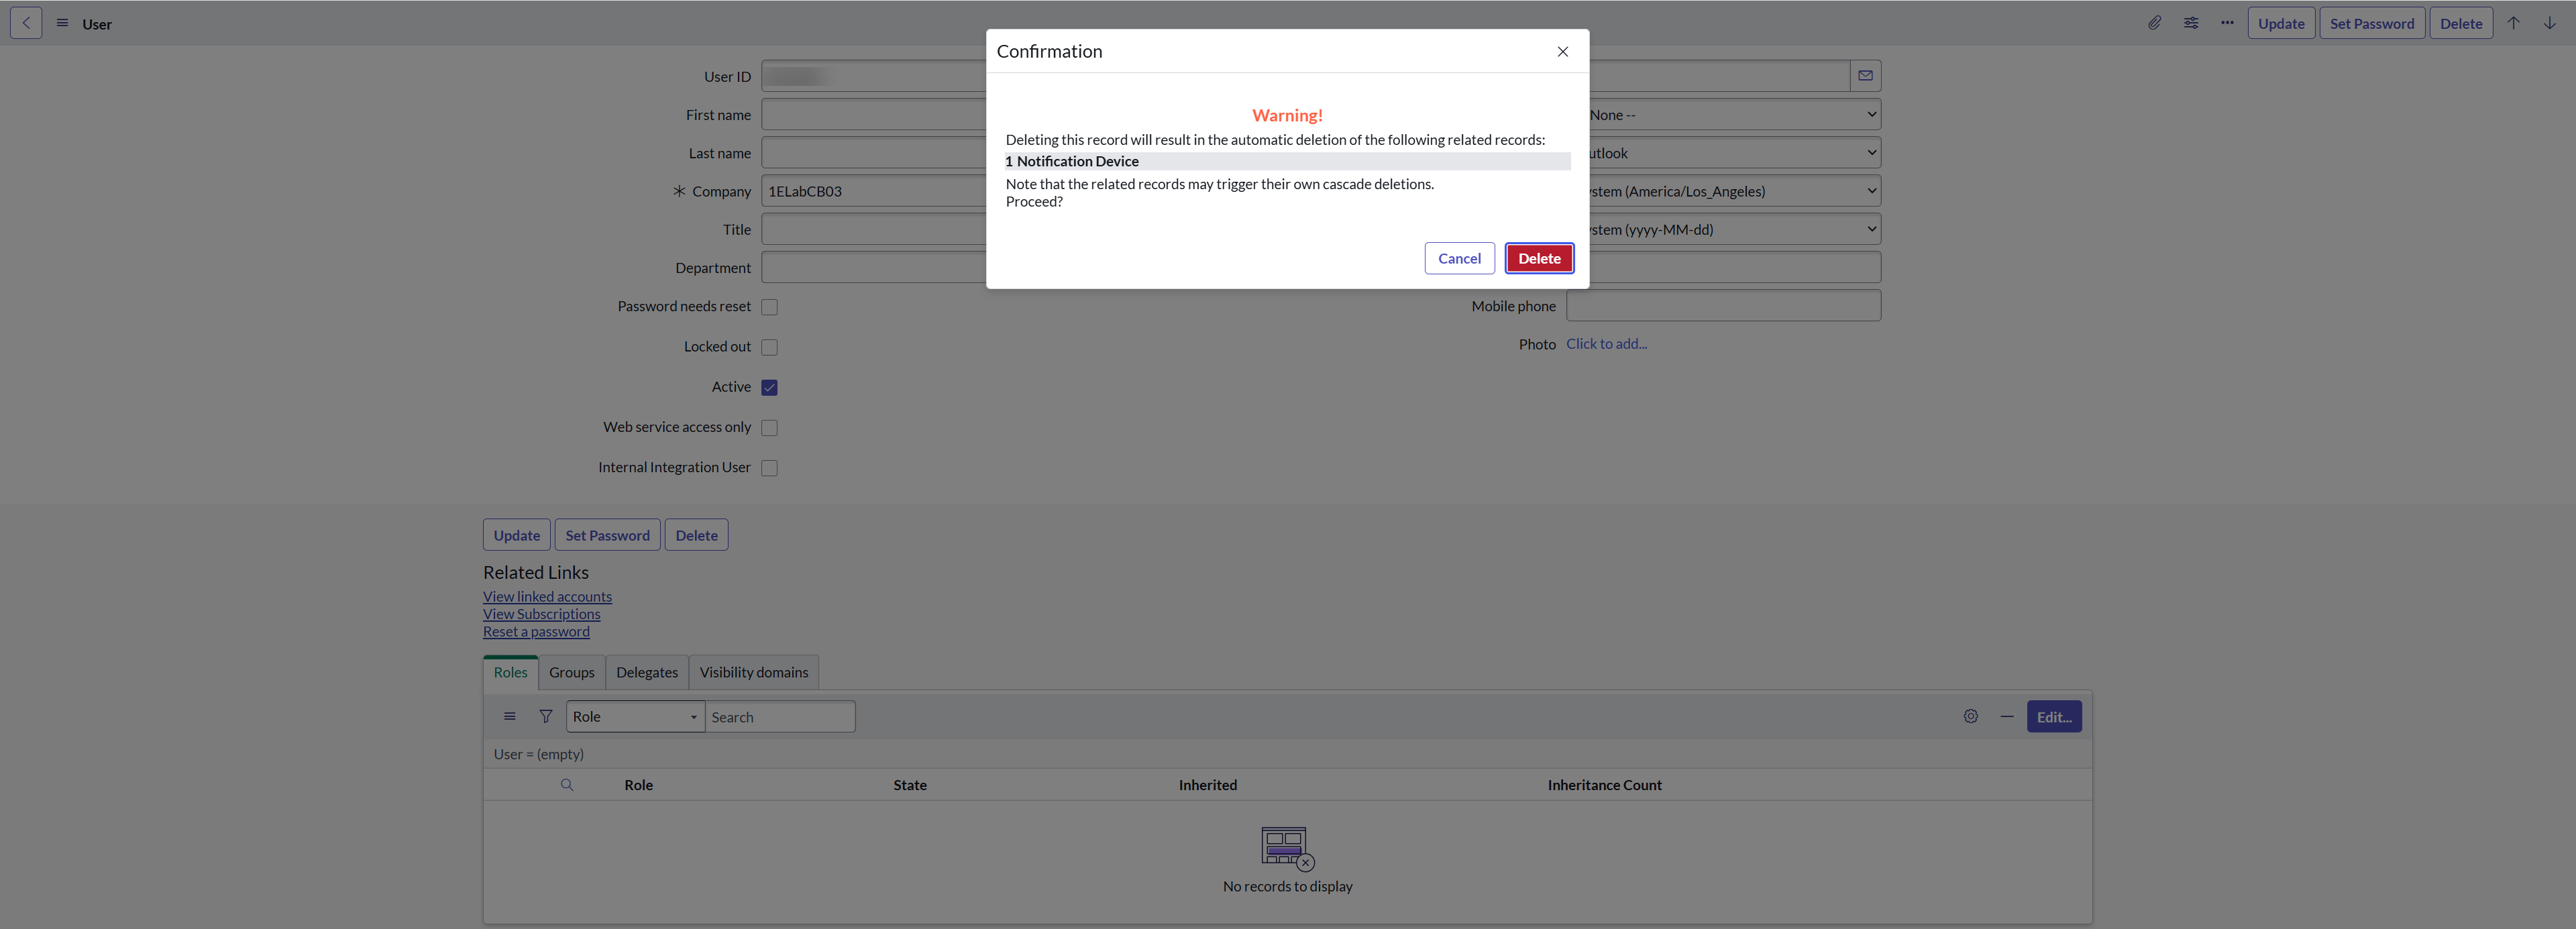
A confirmation box will be displayed asking you if you want to proceed. Click the Delete button to confirm.
-
Once this is done, the user will be deleted. You can verify this by searching for the user in the users list.


