Initial configuration and user management
Learn how to manage user authentication, roles, permissions, and access for the TeamViewer DEX Platform, including login options, identity providers, and user administration tasks. This guide explains how to configure secure access, manage user accounts and groups, and implement role-based access control.
Logging in for the first time
-
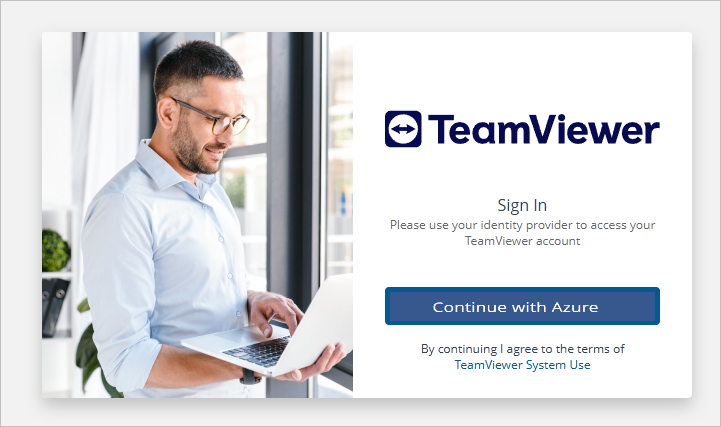
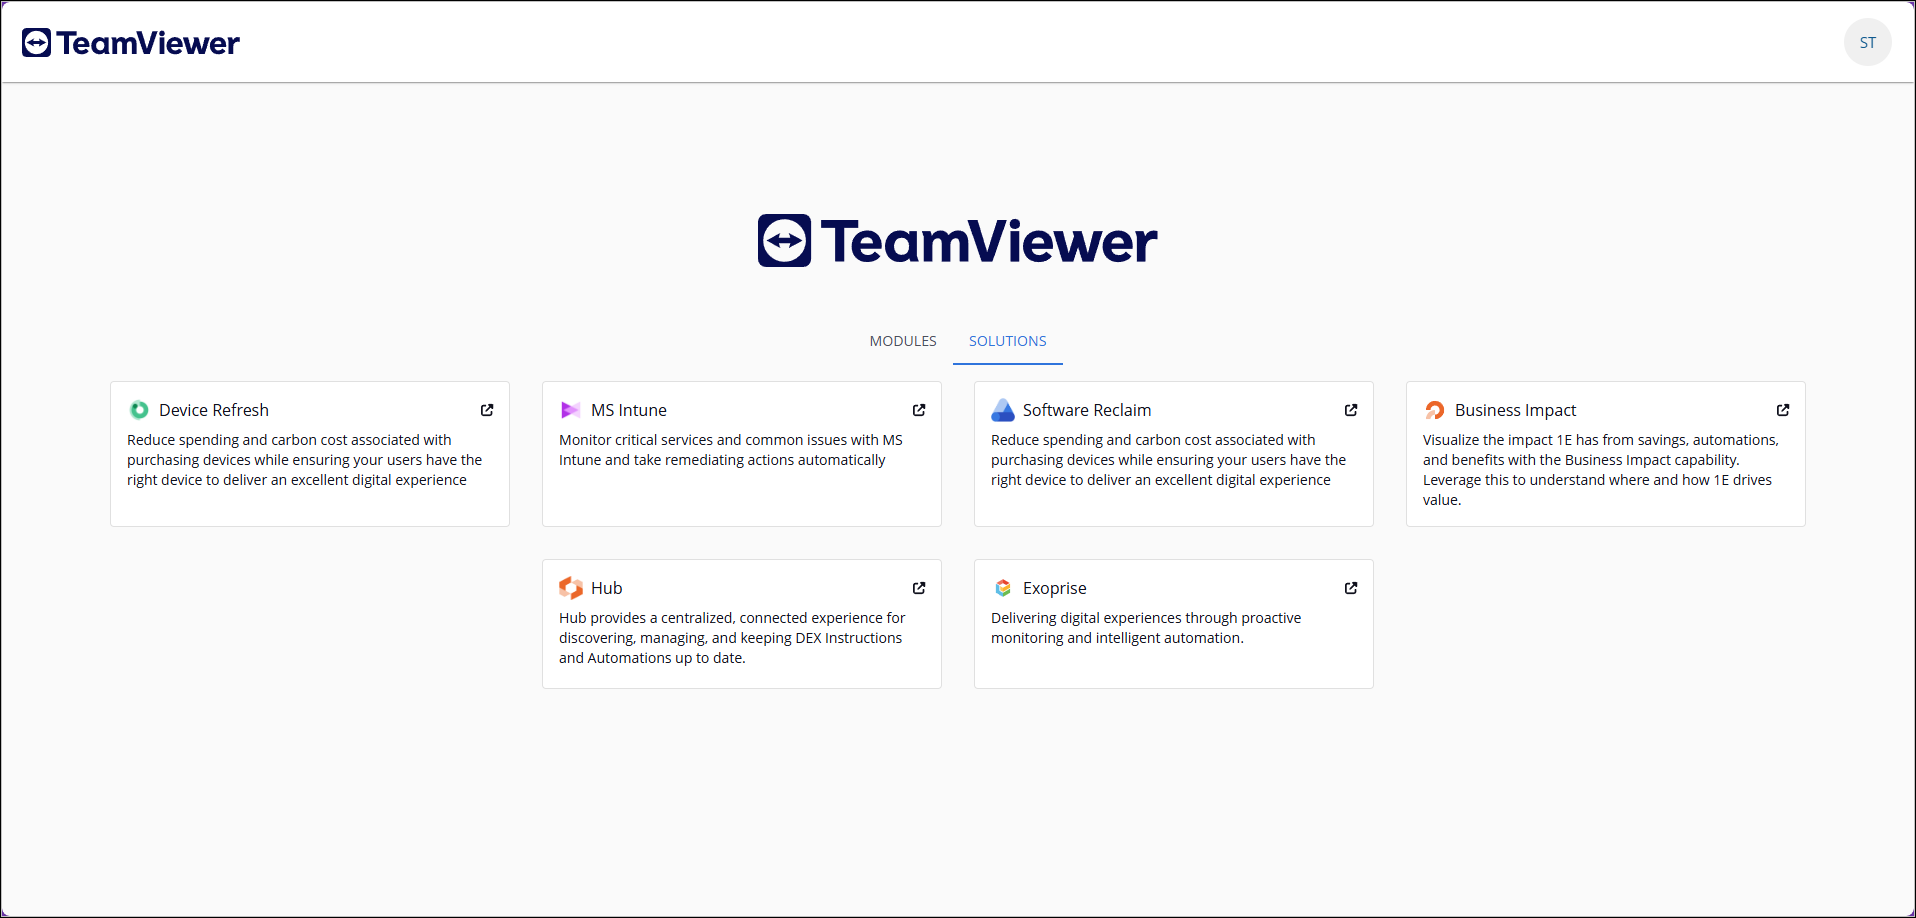
Login to the Platform, and navigate to your licensed Solution using the app switcher.
-
After a successful authentication by the Platform, you will be redirected to the Solutions page and prompted to start the Initial Setup.
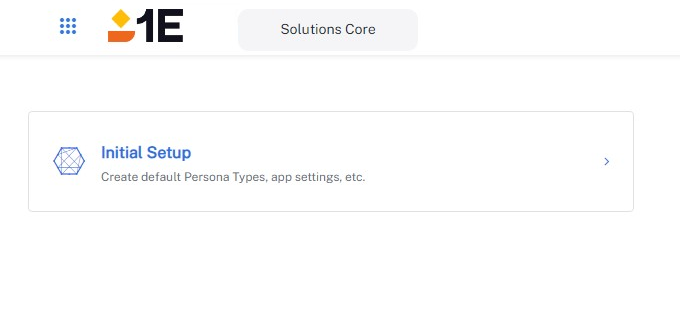
Initial configuration
-
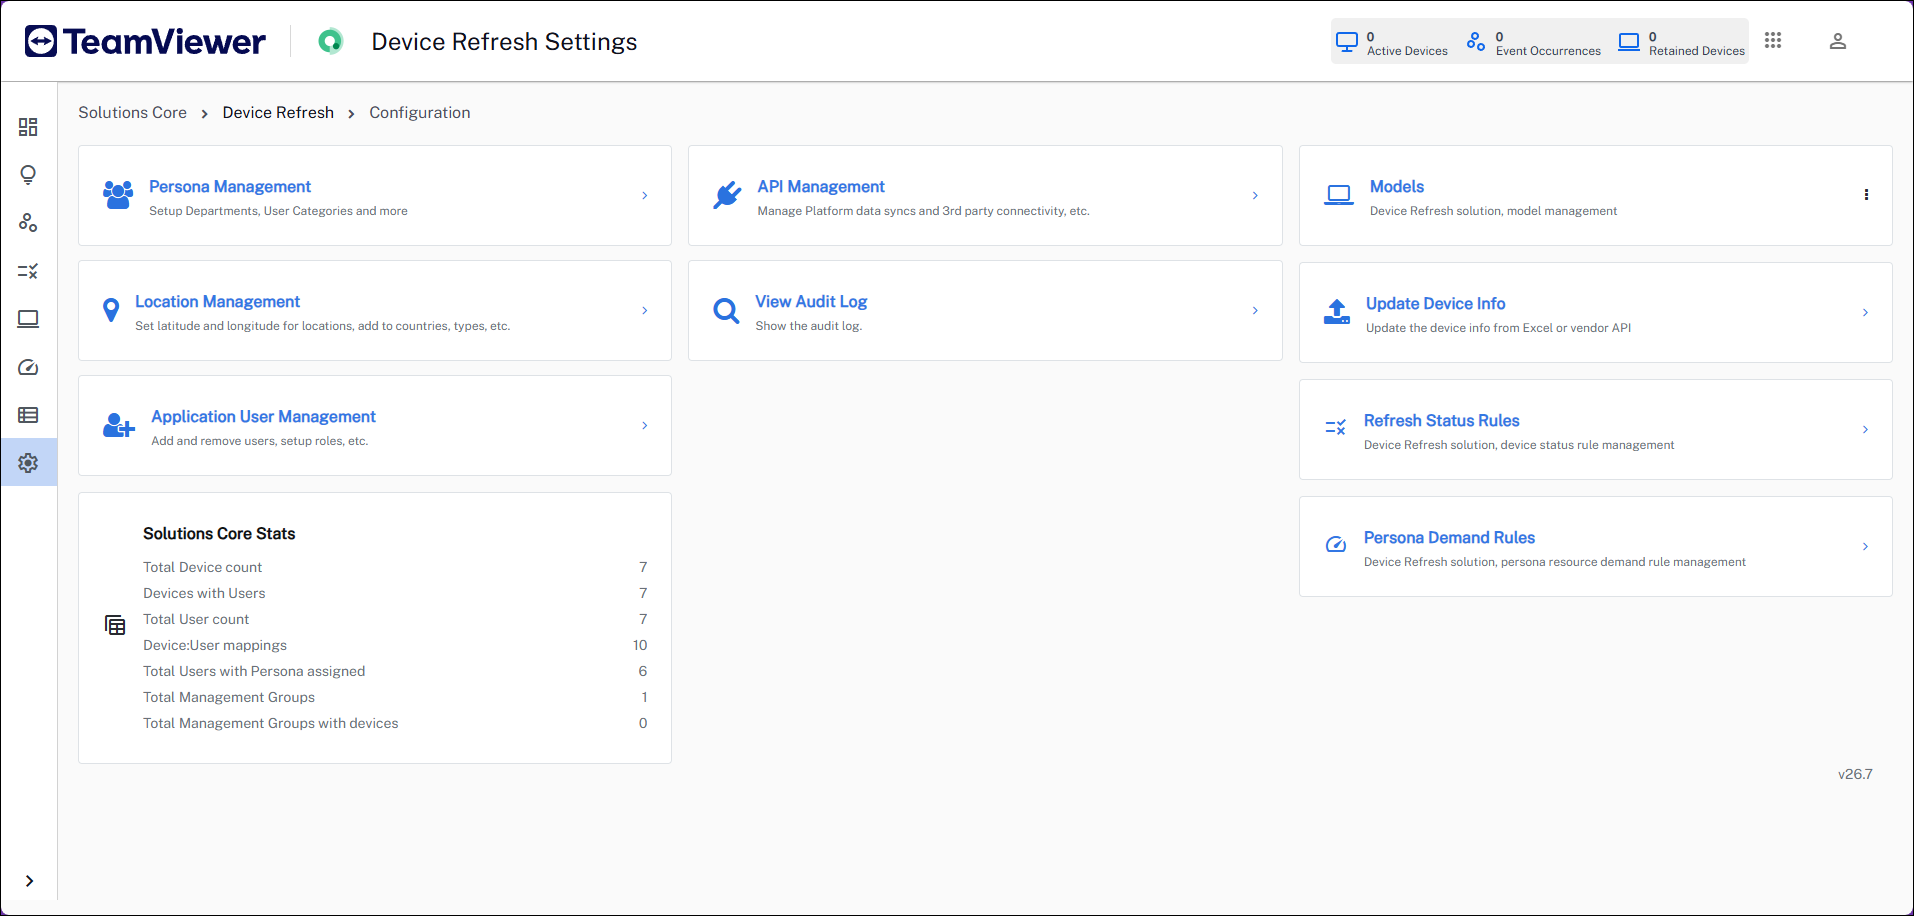
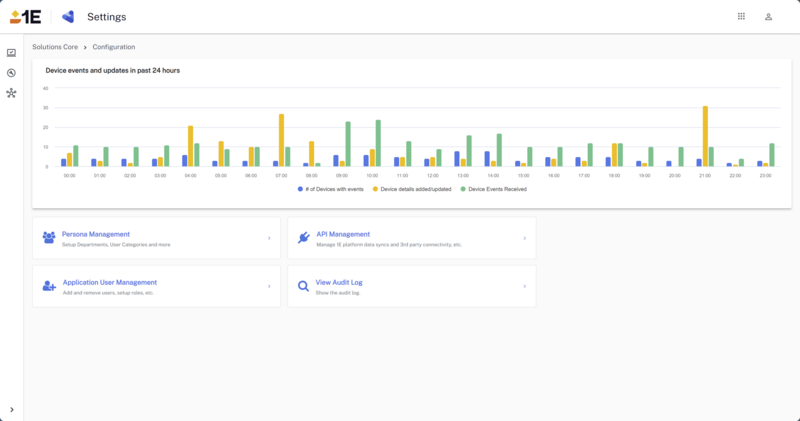
After successfully completing setup, you will be redirected to the Solutions Core Configuration page.
-
Click API Management and on the API Management page enter your Platform details, and click Save.
-
Platform FQDN: Your Platform FQDN.
-
OAuth token issuer application ID (Client Assertion ID): Specify the Application (Client) ID of the Azure application used for integration with the Platform. This field is primarily used for integrations, such as ServiceNow, rather than interactive user authentication.
-
The KID of the certificate to generate the JSON Web Token (JWT) mapping, refer to Non-interactive JSON Web Token (JWT) Authentication for details.
-
Certificate Password and Private Key of the certificate uploaded in the AAD application used for integrations.
The certificate password should be only be updated when the generated private key is encrypted.
-
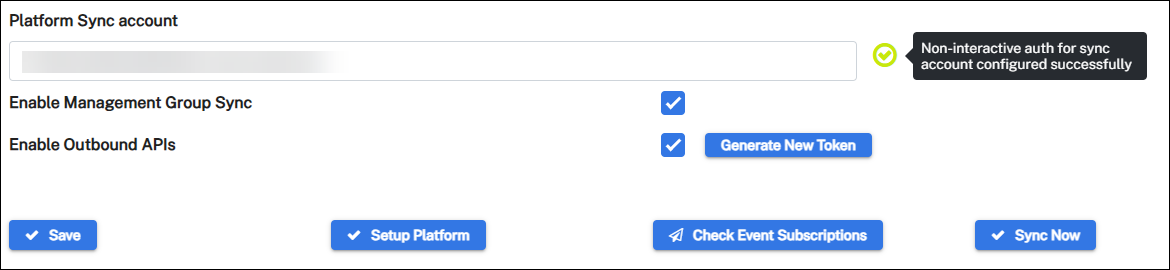
Platform Sync account: This service account requires the appropriate permissions to retrieve information, such as device details, Management Group membership, and Business Impact statuses, through the Consumer APIs. Because these requests use non-interactive authentication, a certificate is required to enable JWT-based authentication for the service account.
The Platform sync account is used only for background synchronization tasks. Interactive operations performed by a signed-in administrator use that administrator's authentication token instead. Refer to Understanding Interactive and non-interactive authentication.
-
-
The tick icon will display as green which indicates the non-interactive auth for your sync account is configured successfully. A red icon indicates one or more settings on the Platform page is incorrect, or the non-interactive auth for your account is setup incorrectly.
-
Ensure that Enable Management Group Sync is selected. This feature should be selected by default. If you deselect this, Management Group membership will not be retrieved using the Consumer API.
-
Optionally selecting Enable outbound APIs allows you to generate an authentication token for applications that access the Platform's outbound APIs. Include this token in the request header of each API request to authenticate and retrieve data, such as Device Refresh and Business Impact information.
Generated tokens do not expire automatically. If your organization has a policy for rotating API credentials, generate a new token and update the calling application to use the new value.
-
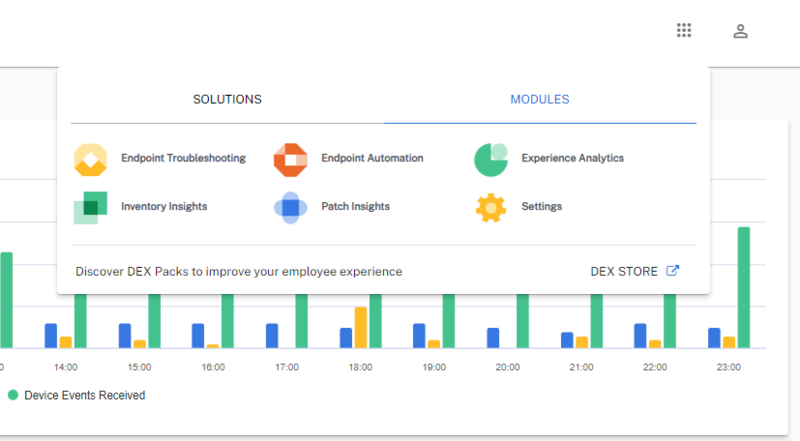
Refresh the page and click on the menu to check if it has been updated with your licensed Solutions and modules.
Understanding Interactive and non-interactive authentication
The integration uses two authentication methods, each with a different purpose:
-
Interactive authentication: Authenticates the signed-in administrator and is used for user-initiated actions, such as Set Up Platform, Check Event Subscriptions, and Generate Token.
-
Non-interactive authentication: Authenticates the Platform sync account and is used for background synchronization tasks. It requires a certificate, application ID, key ID, private key, and JWT mapping.
As a result, interactive features can continue to work even if non-interactive authentication is not configured correctly. However, background synchronization operations require a correctly configured Platform sync account and certificate-based authentication.
It is expected that some features continue to work when non-interactive authentication is unavailable. This is because they use the signed-in user's authentication token rather than the Platform sync account.
|
Operation |
Authentication method |
|---|---|
|
Check Event Subscriptions |
Signed-in user's token (interactive). |
|
Set Up Platform |
Signed-in user's token (interactive). |
|
Generate Token |
Signed-in user's token (interactive). |
|
Background synchronization |
Platform sync account (non-interactive). |
Application User Management
This section covers initial Solutions user setup, and configuration.
Initial user setup
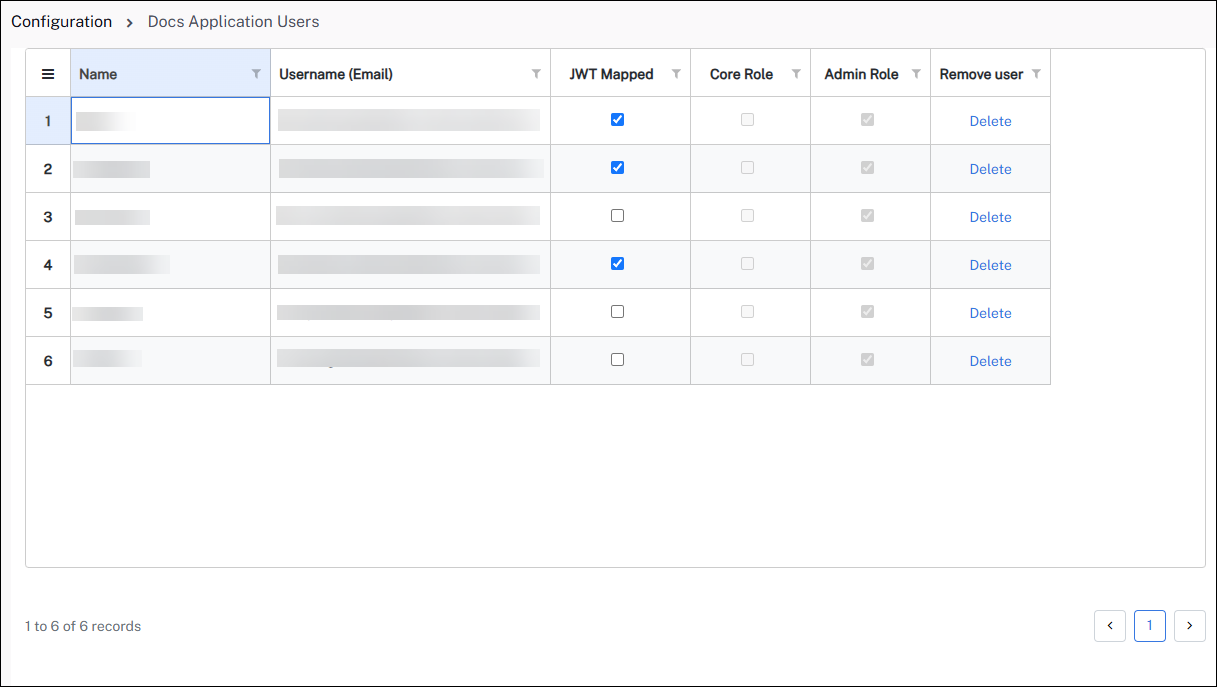
Once signed in using your Admin email, navigate to Solution Settings > Application User Management.
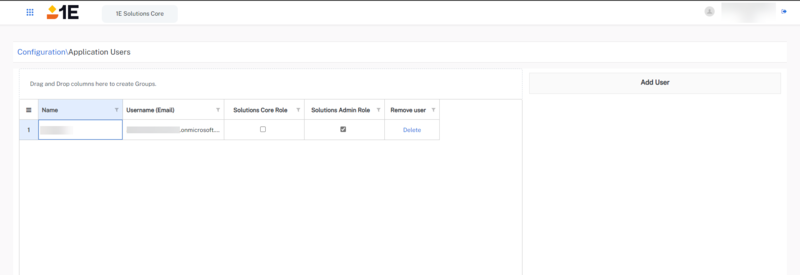
On the Application User Management page, Admins can add new users and assign them to roles. Note the following:
-
Any users you add can be granted either the Solutions Core or Solutions Admin role.
-
A maximum of five users can be added per customer, if you require more than five users, please contact your customer representative.
-
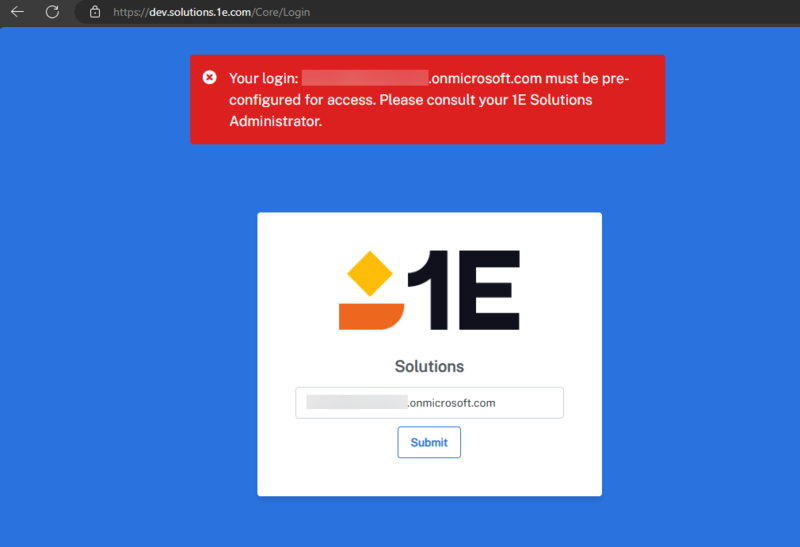
If a user who has not been added to the system attempts to log in, they will see this message.
-
Users added but not granted a role (Solutions Core or Solutions Admin), will see the following message.
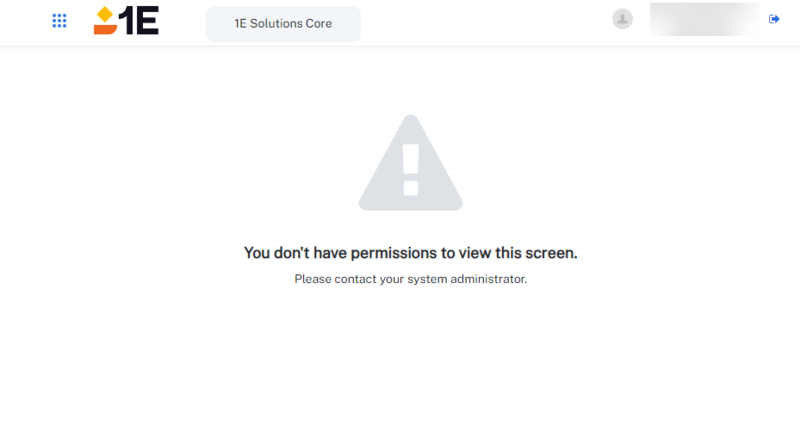
Users with the Solutions Core role will not have access to the Configuration page.
Adding users
User access is managed through Platform roles rather than within Solutions. Users who have the appropriate Platform role are synchronized automatically, while users who no longer have the required role or have been removed from the Platform are removed from Solutions during synchronization.
You can configure JWT mappings for supported accounts, but user and permission management is performed using the Platform.
For details about how to use permissions in the Platform, refer to Permissions and the Roles page